How I Reproduced the Light Gun Casing for Atari Outlaw

Not long after I fixed QWAK!, I wanted to buy an Atari Outlaw PCB so that I could be the first person to fix it and document it. At the time, there was a board on Ebay. Unfortunately, the school year had just started and I realized that I wasn't going to have much time to do anything aside from schoolwork, so I decided it would be better not to buy it. For awhile though, I vacillated on whether or not I wanted to buy it anyway. It was during this time that I decided that holding an optics board and a trigger switch to play QWAK! was not very easy or fun. I remembered seeing mechanical drawings of the light pistol in the Atari Outlaw manual, so I figured I could import them into RHINO and 3d print parts to reproduce the light gun.
That is exactly what I ended up doing. Somehow, I expected this to be a quick project, but after 40+ hours of work I finished recreating the light gun casing to scale. I figured I might as well share the project with anyone who was interested, so feel free visit the Downloads page and grab the files to make one for yourself. Please note: you will probably want to make changes to the design. Most of the pieces don't have rounded edges, and a NOS casing assembly showed up on Ebay and I realized that I missed a LOT from only having a side and rear view to work from.
How to Assemble the Light Gun Casing
The light gun is a bit difficult to assemble since I had to split each side of the casing into 4 pieces in order to fit it onto my 3d printer's print bed.
I designed the casing to use x5 #8 by 3/4" screws to hold it together. Depending on how your slicing program generates the path for the 3d printer, the holes may be larger or smaller, and you may need to use different screws.
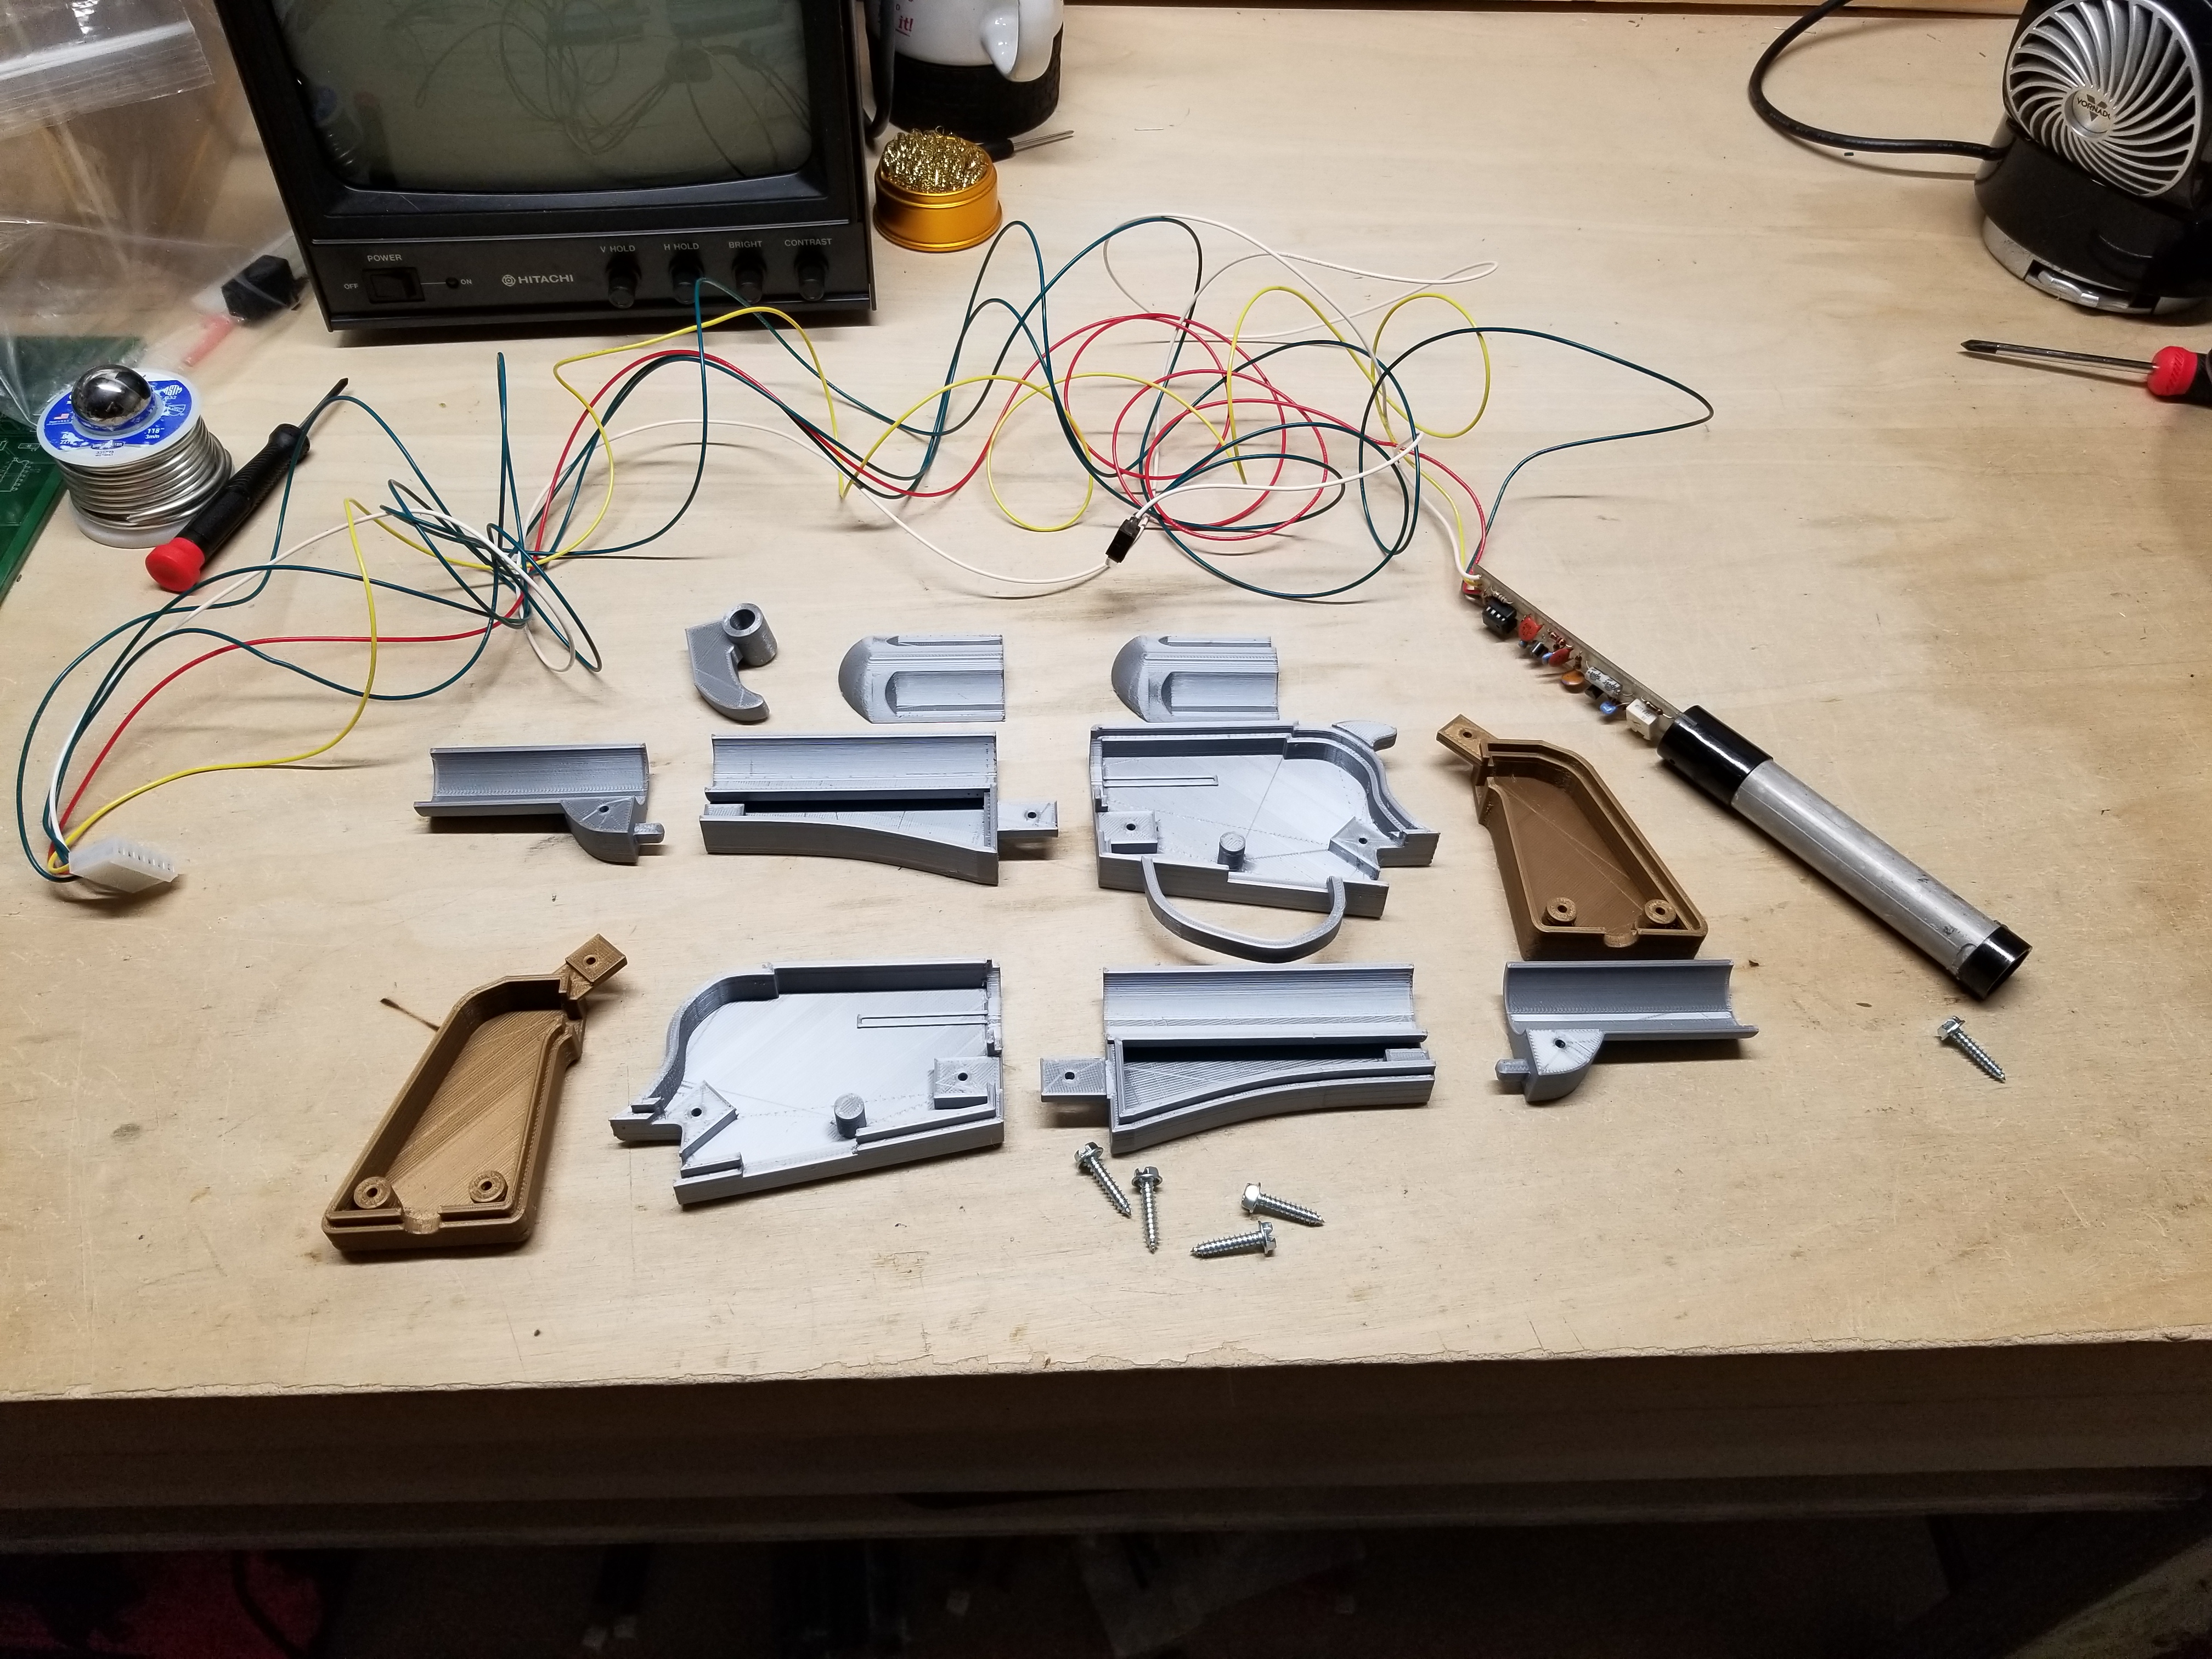
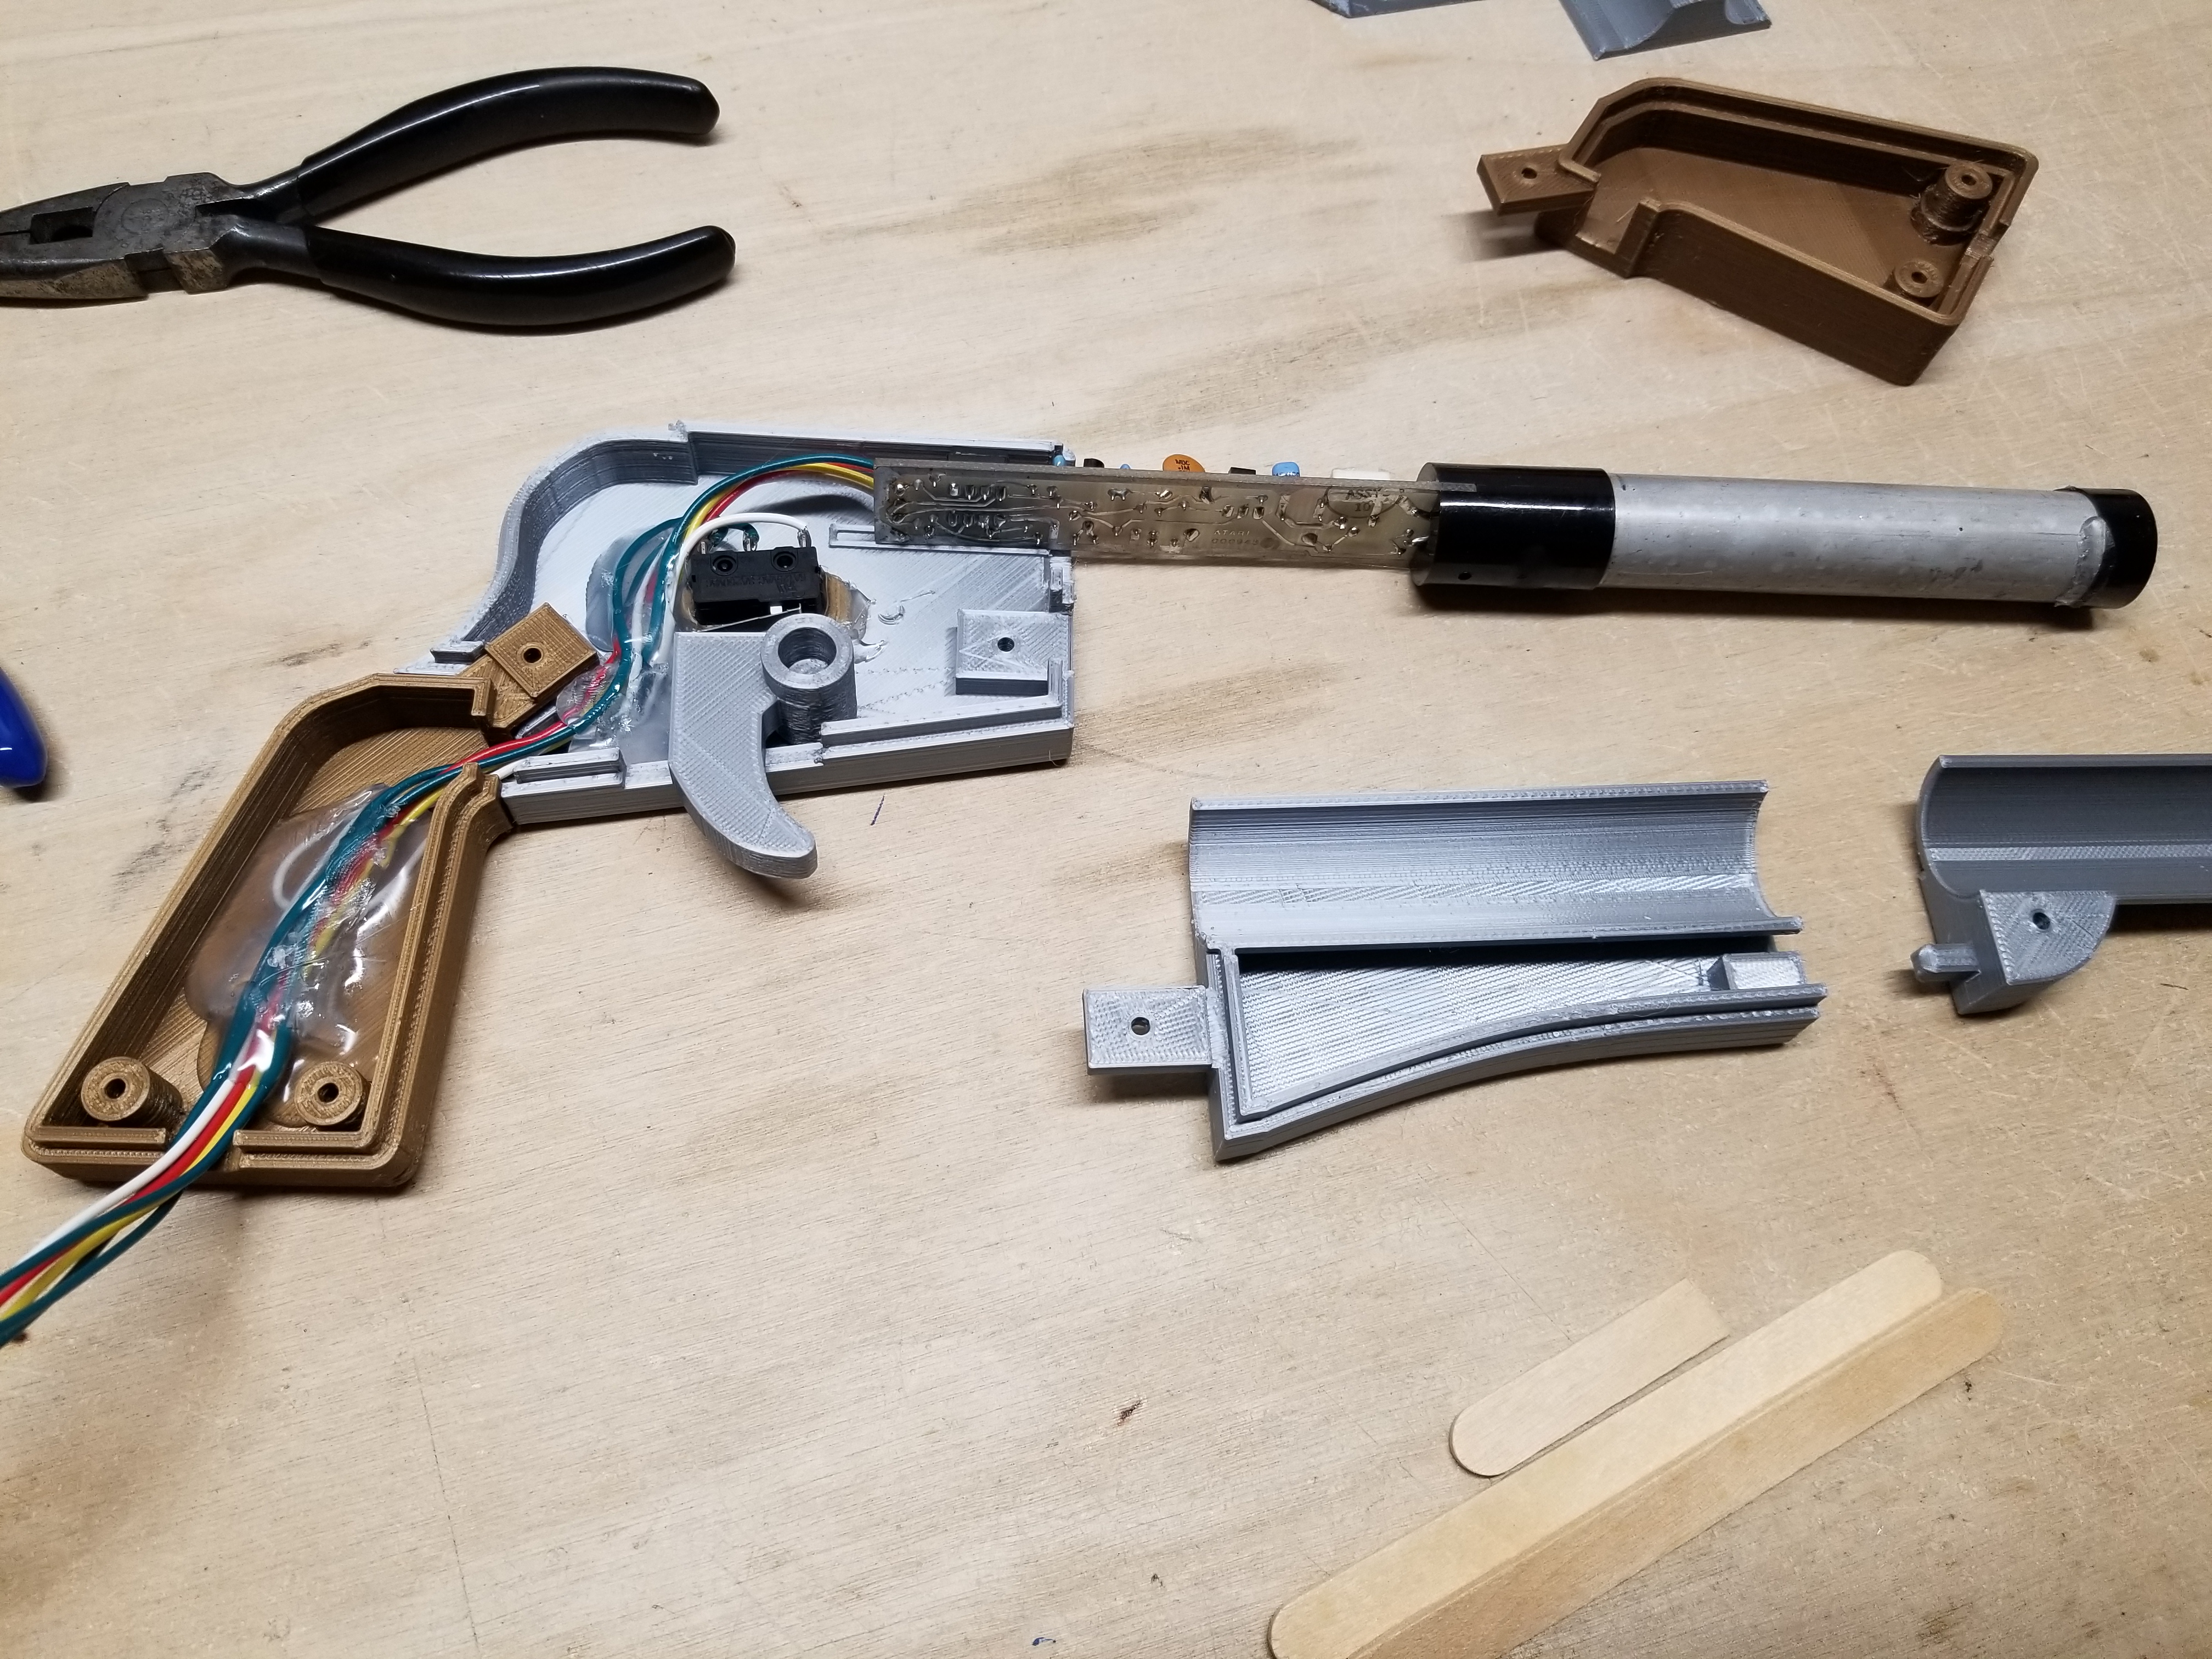
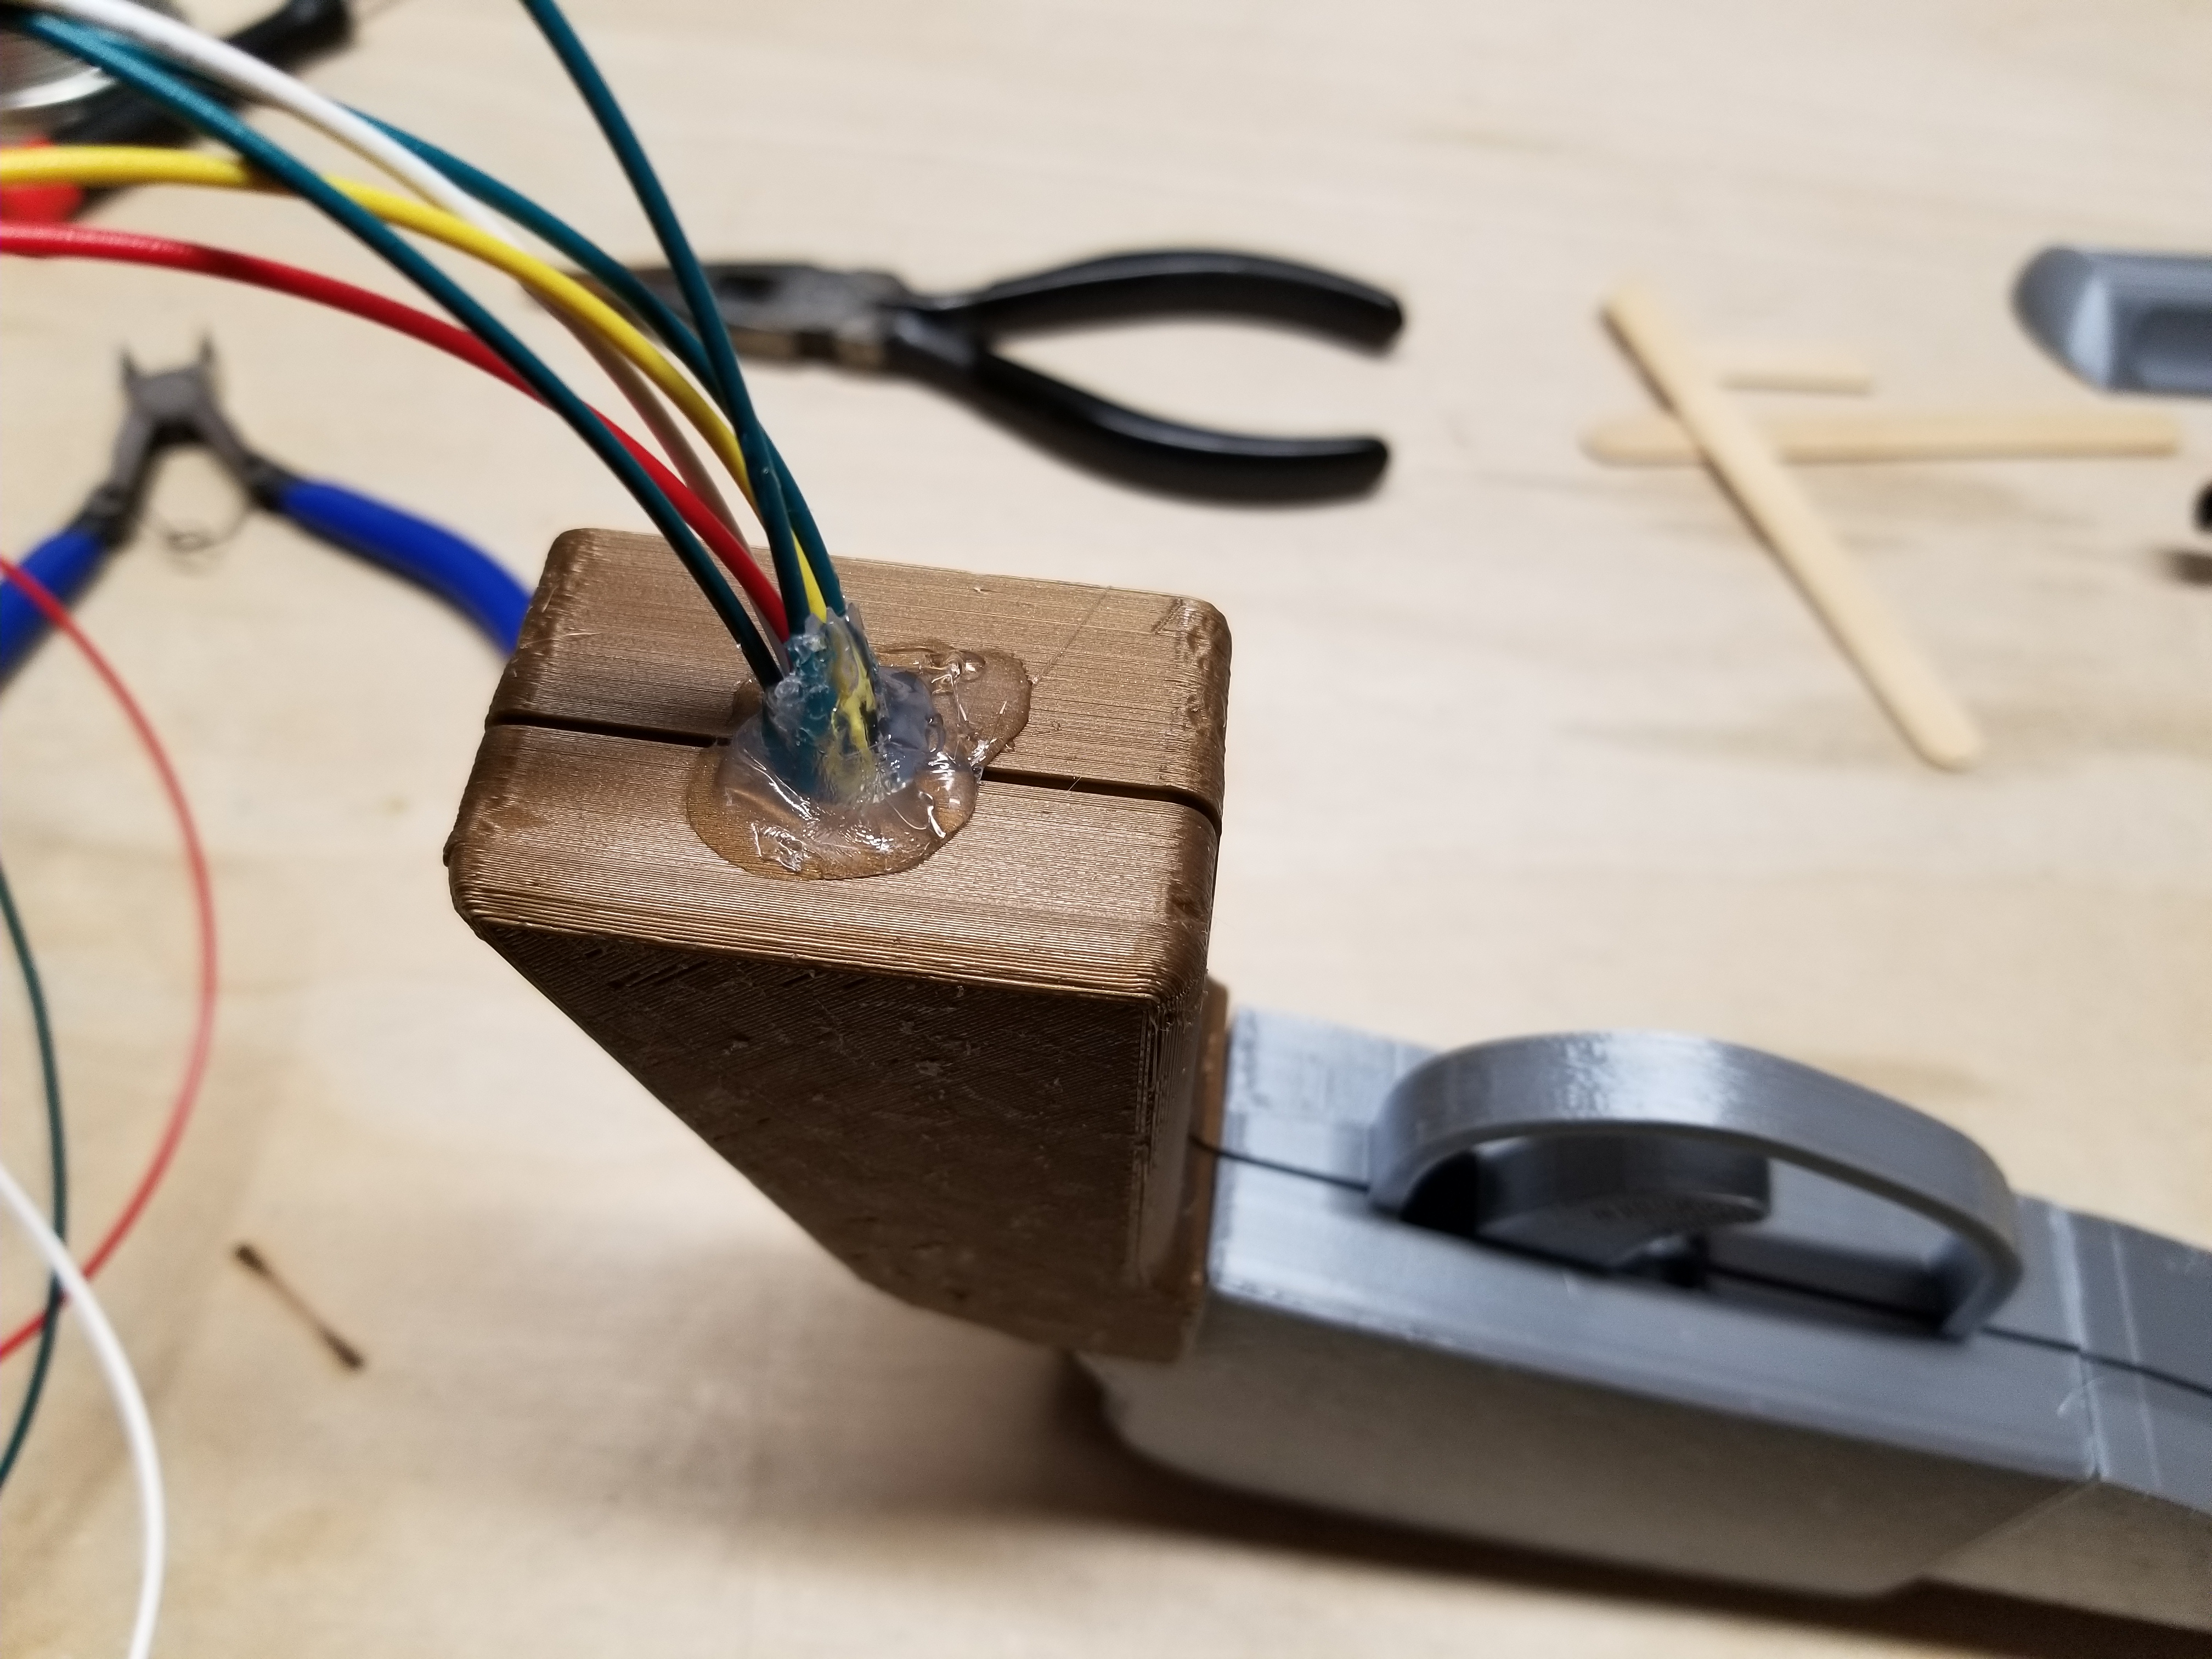
First, you should gather all your parts. I used hot glue to hold the wires and trigger switch in place, but it is barely sufficient and you may want to use epoxy for that.
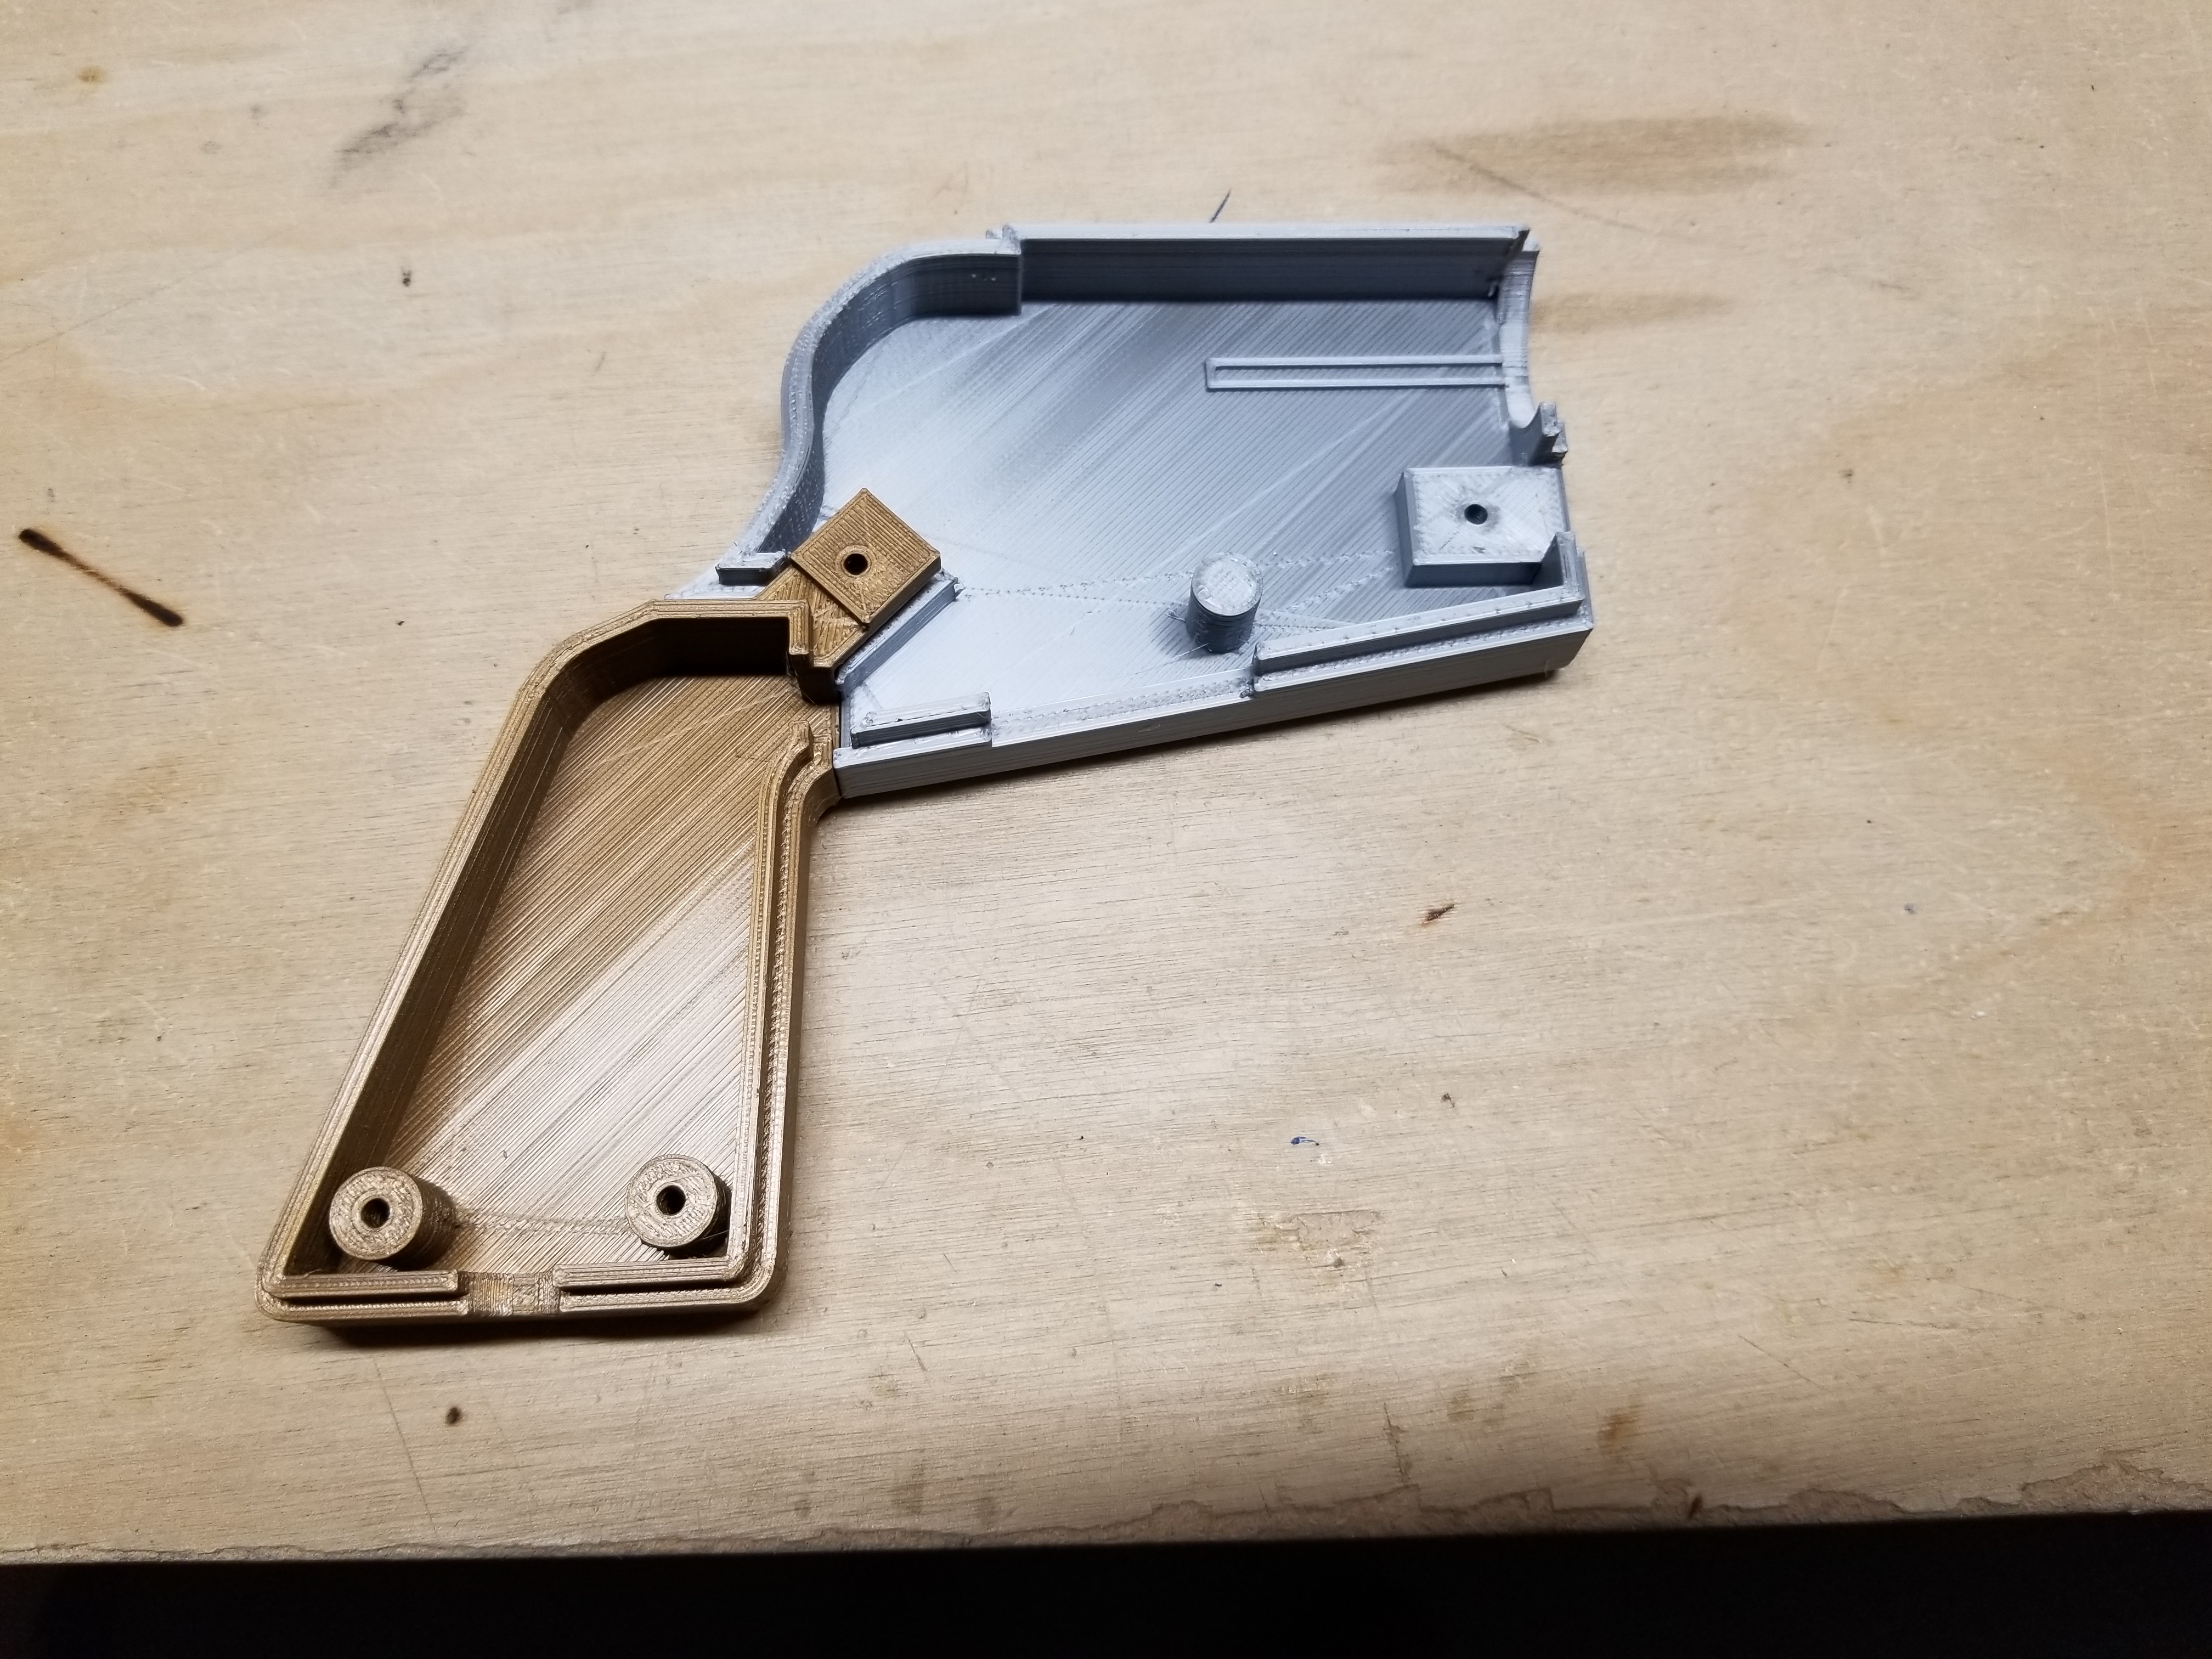
You will want to start by laying out the rear two pieces of the left side of the gun like so:
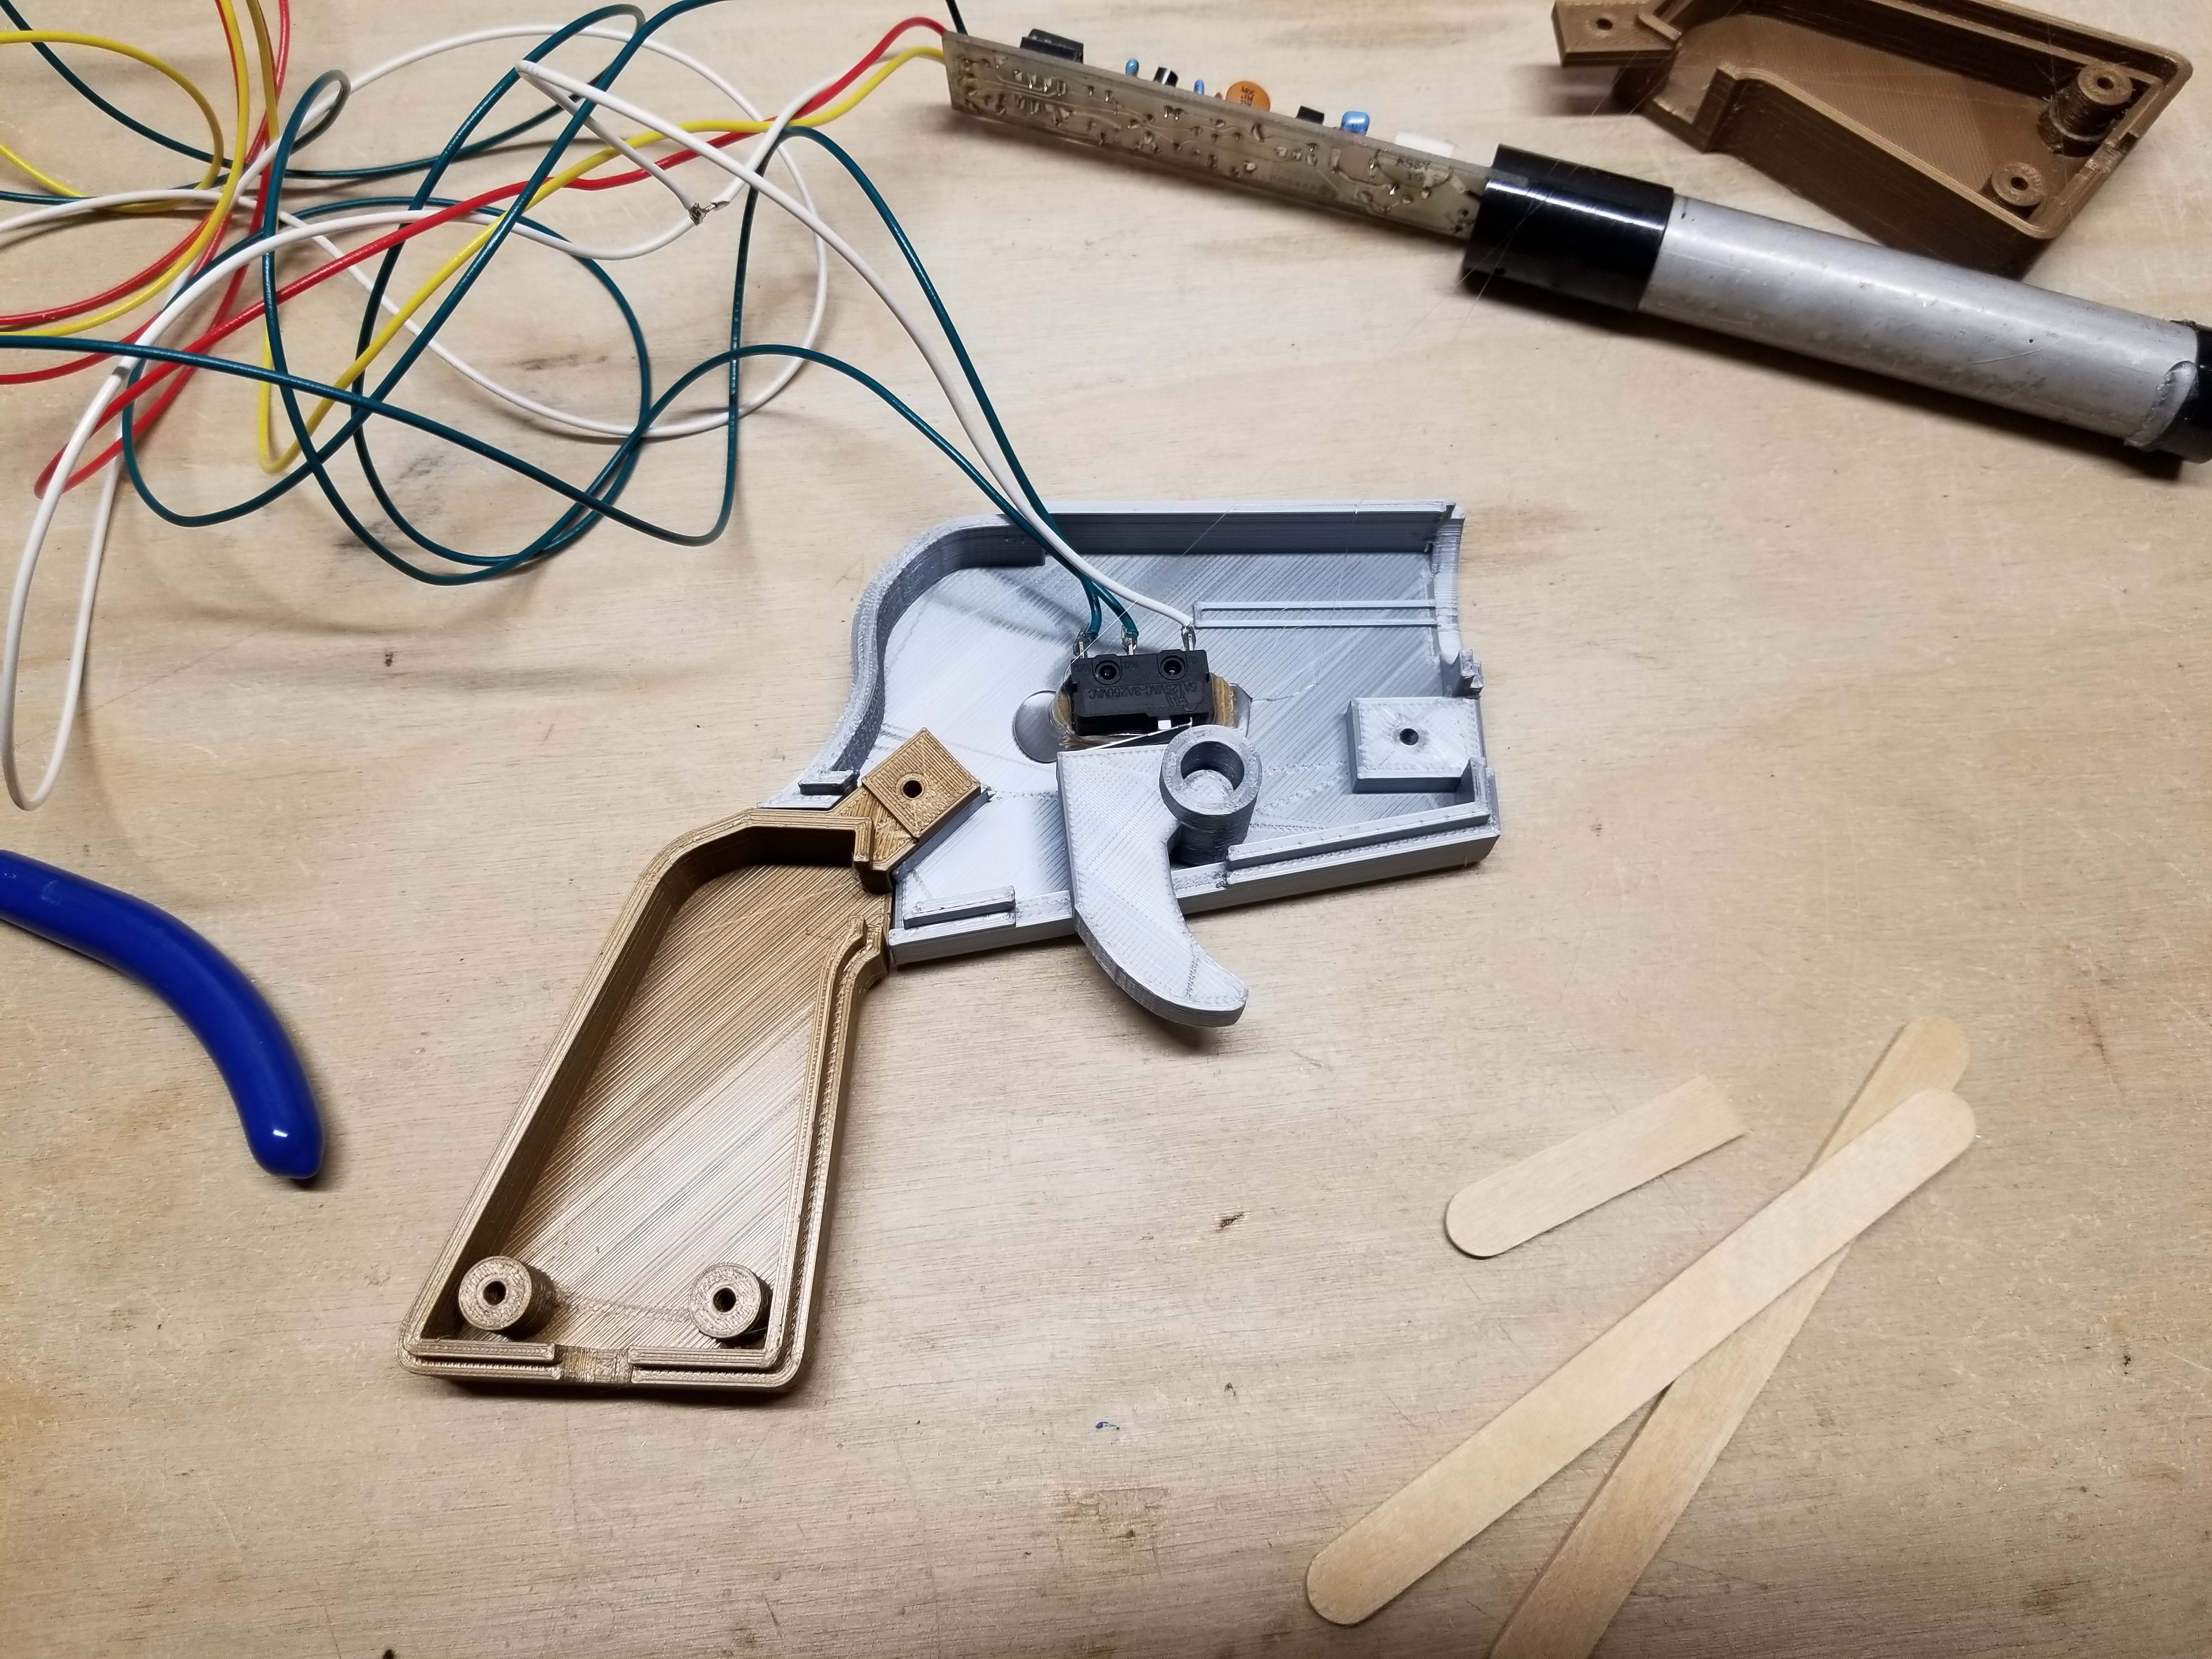
Next, you will need to figure out where you want to place the trigger switch. The switch I used was particularly thin, so I had to use some popsicle stick pieces to raise the blade of the switch up to the trigger.
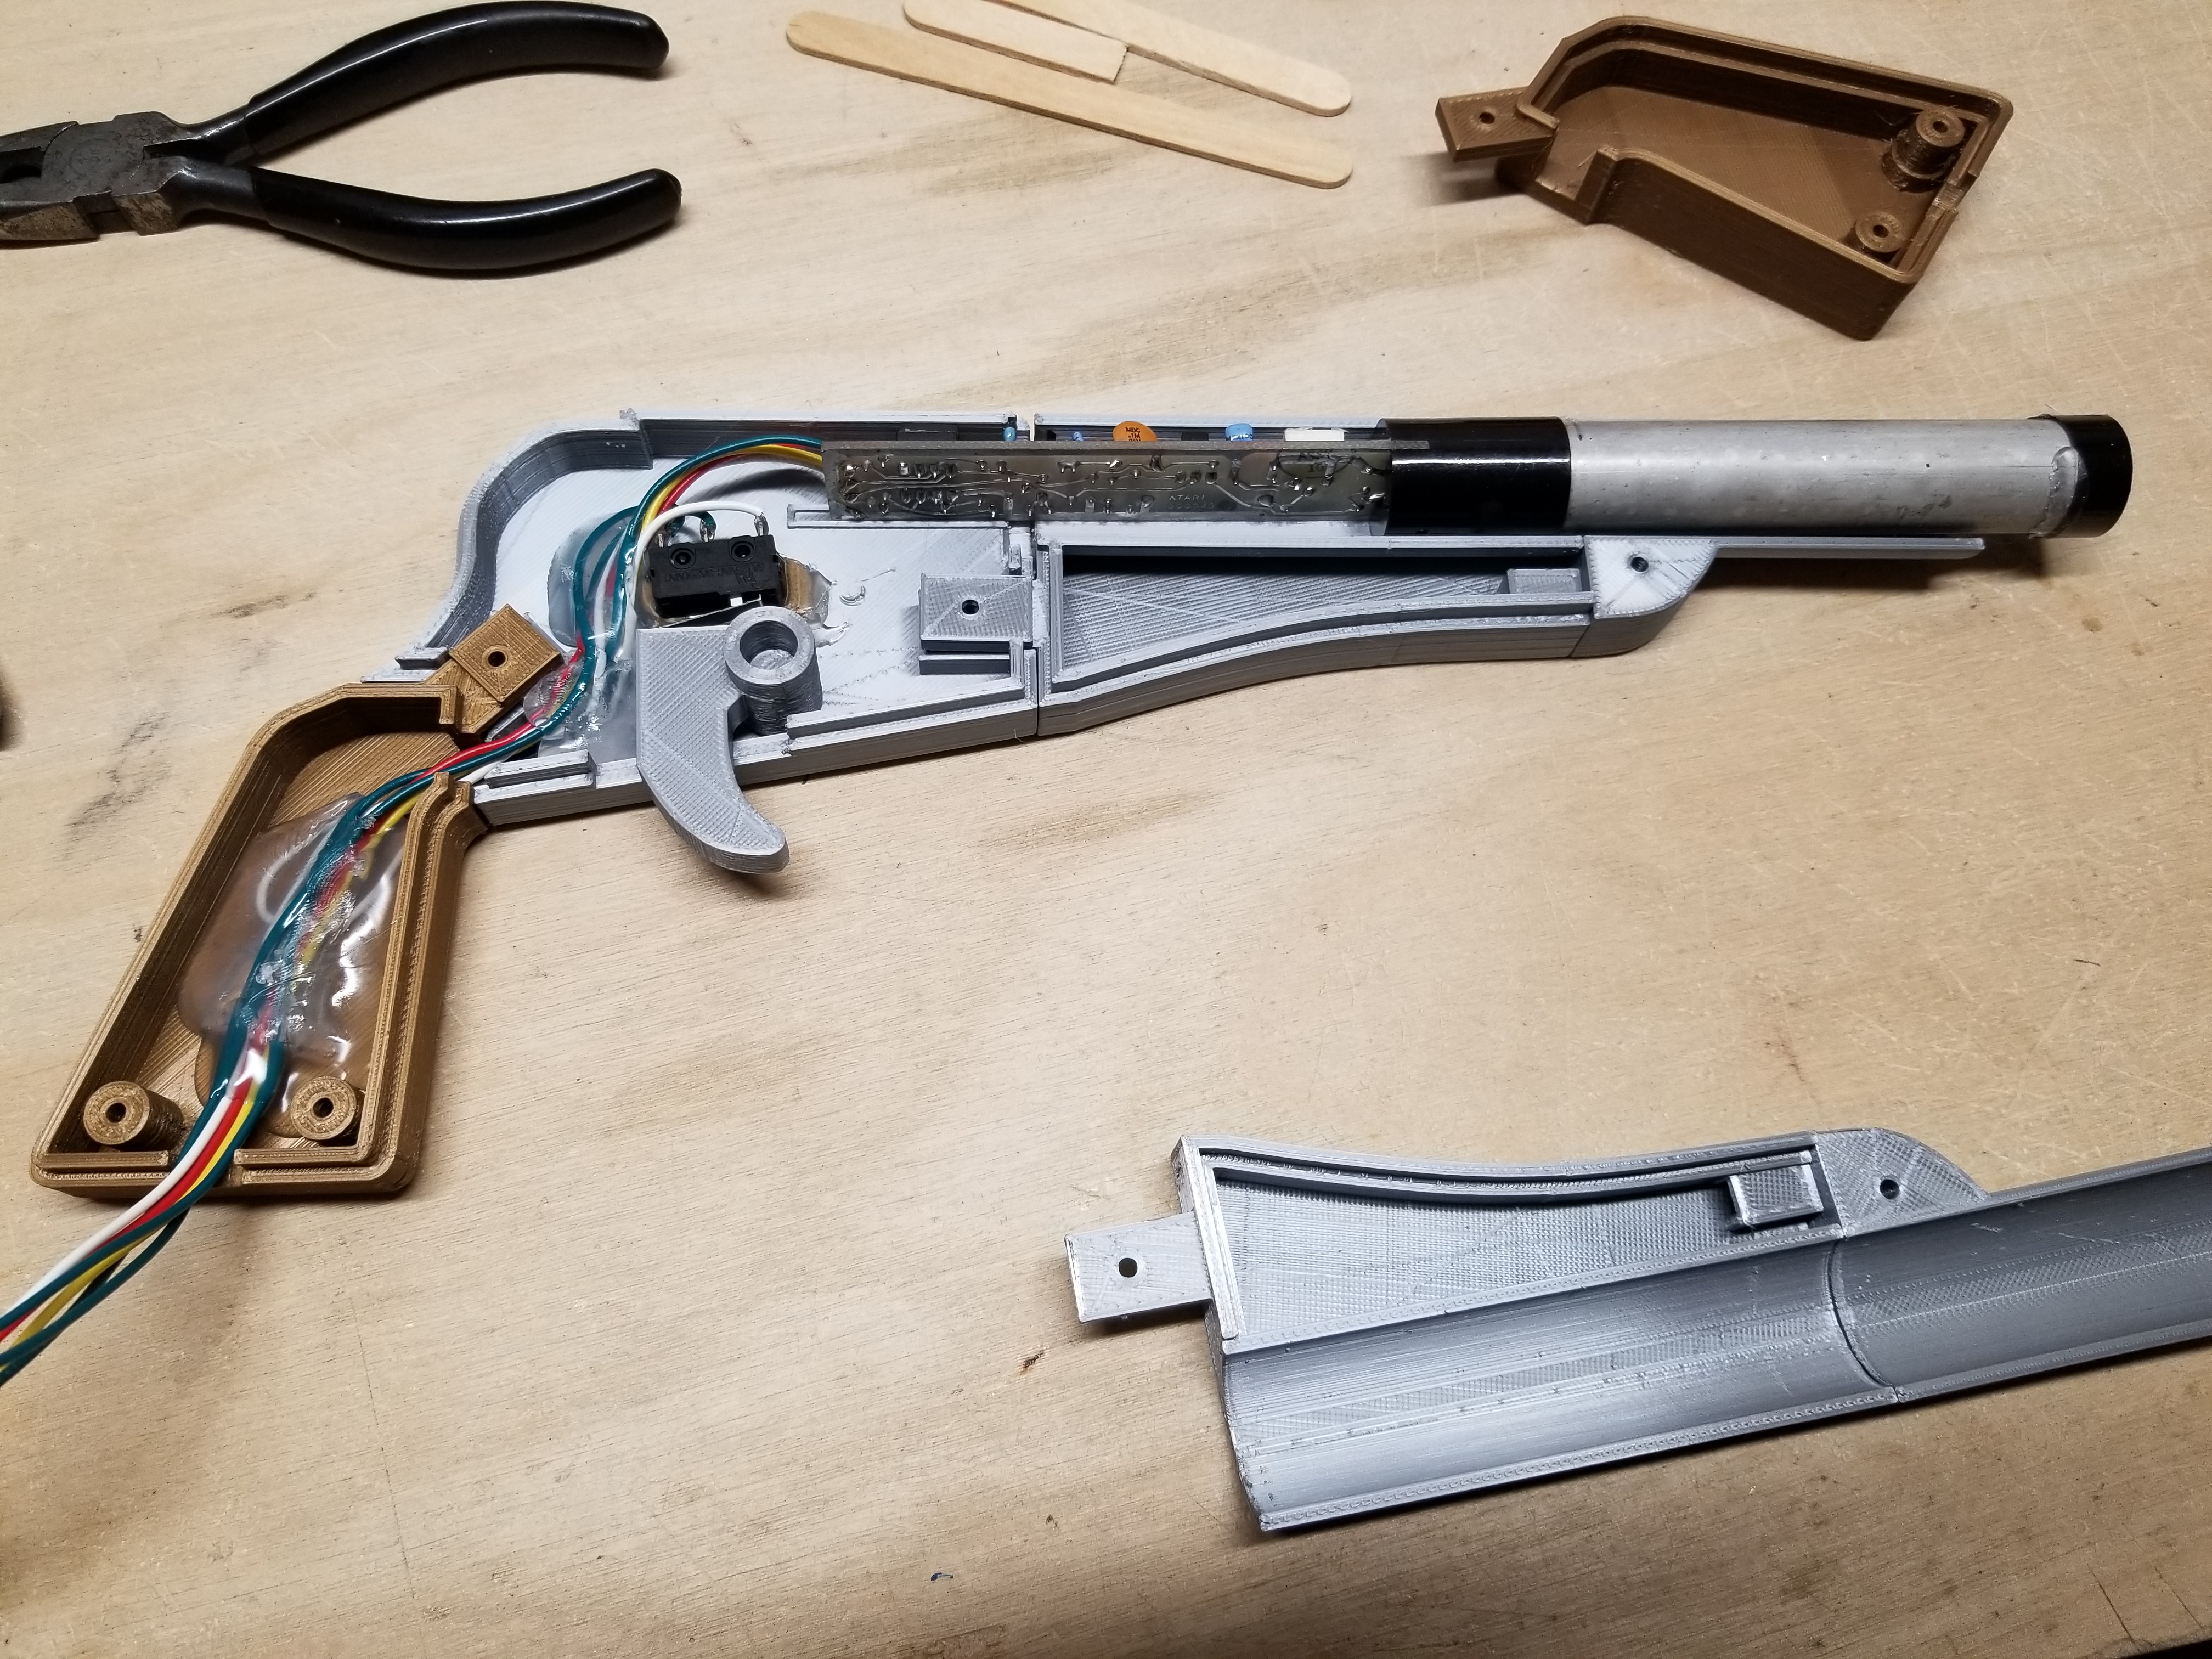
Wrangling the wires will be a bit difficult. Place the optics pcb assembly into that channel on the bottom of the silver piece, and figure out how much play you want in the wires. Make sure that the optics assembly can be moved forward an inch or so from the back of the channel, as it will help you assemble it later.
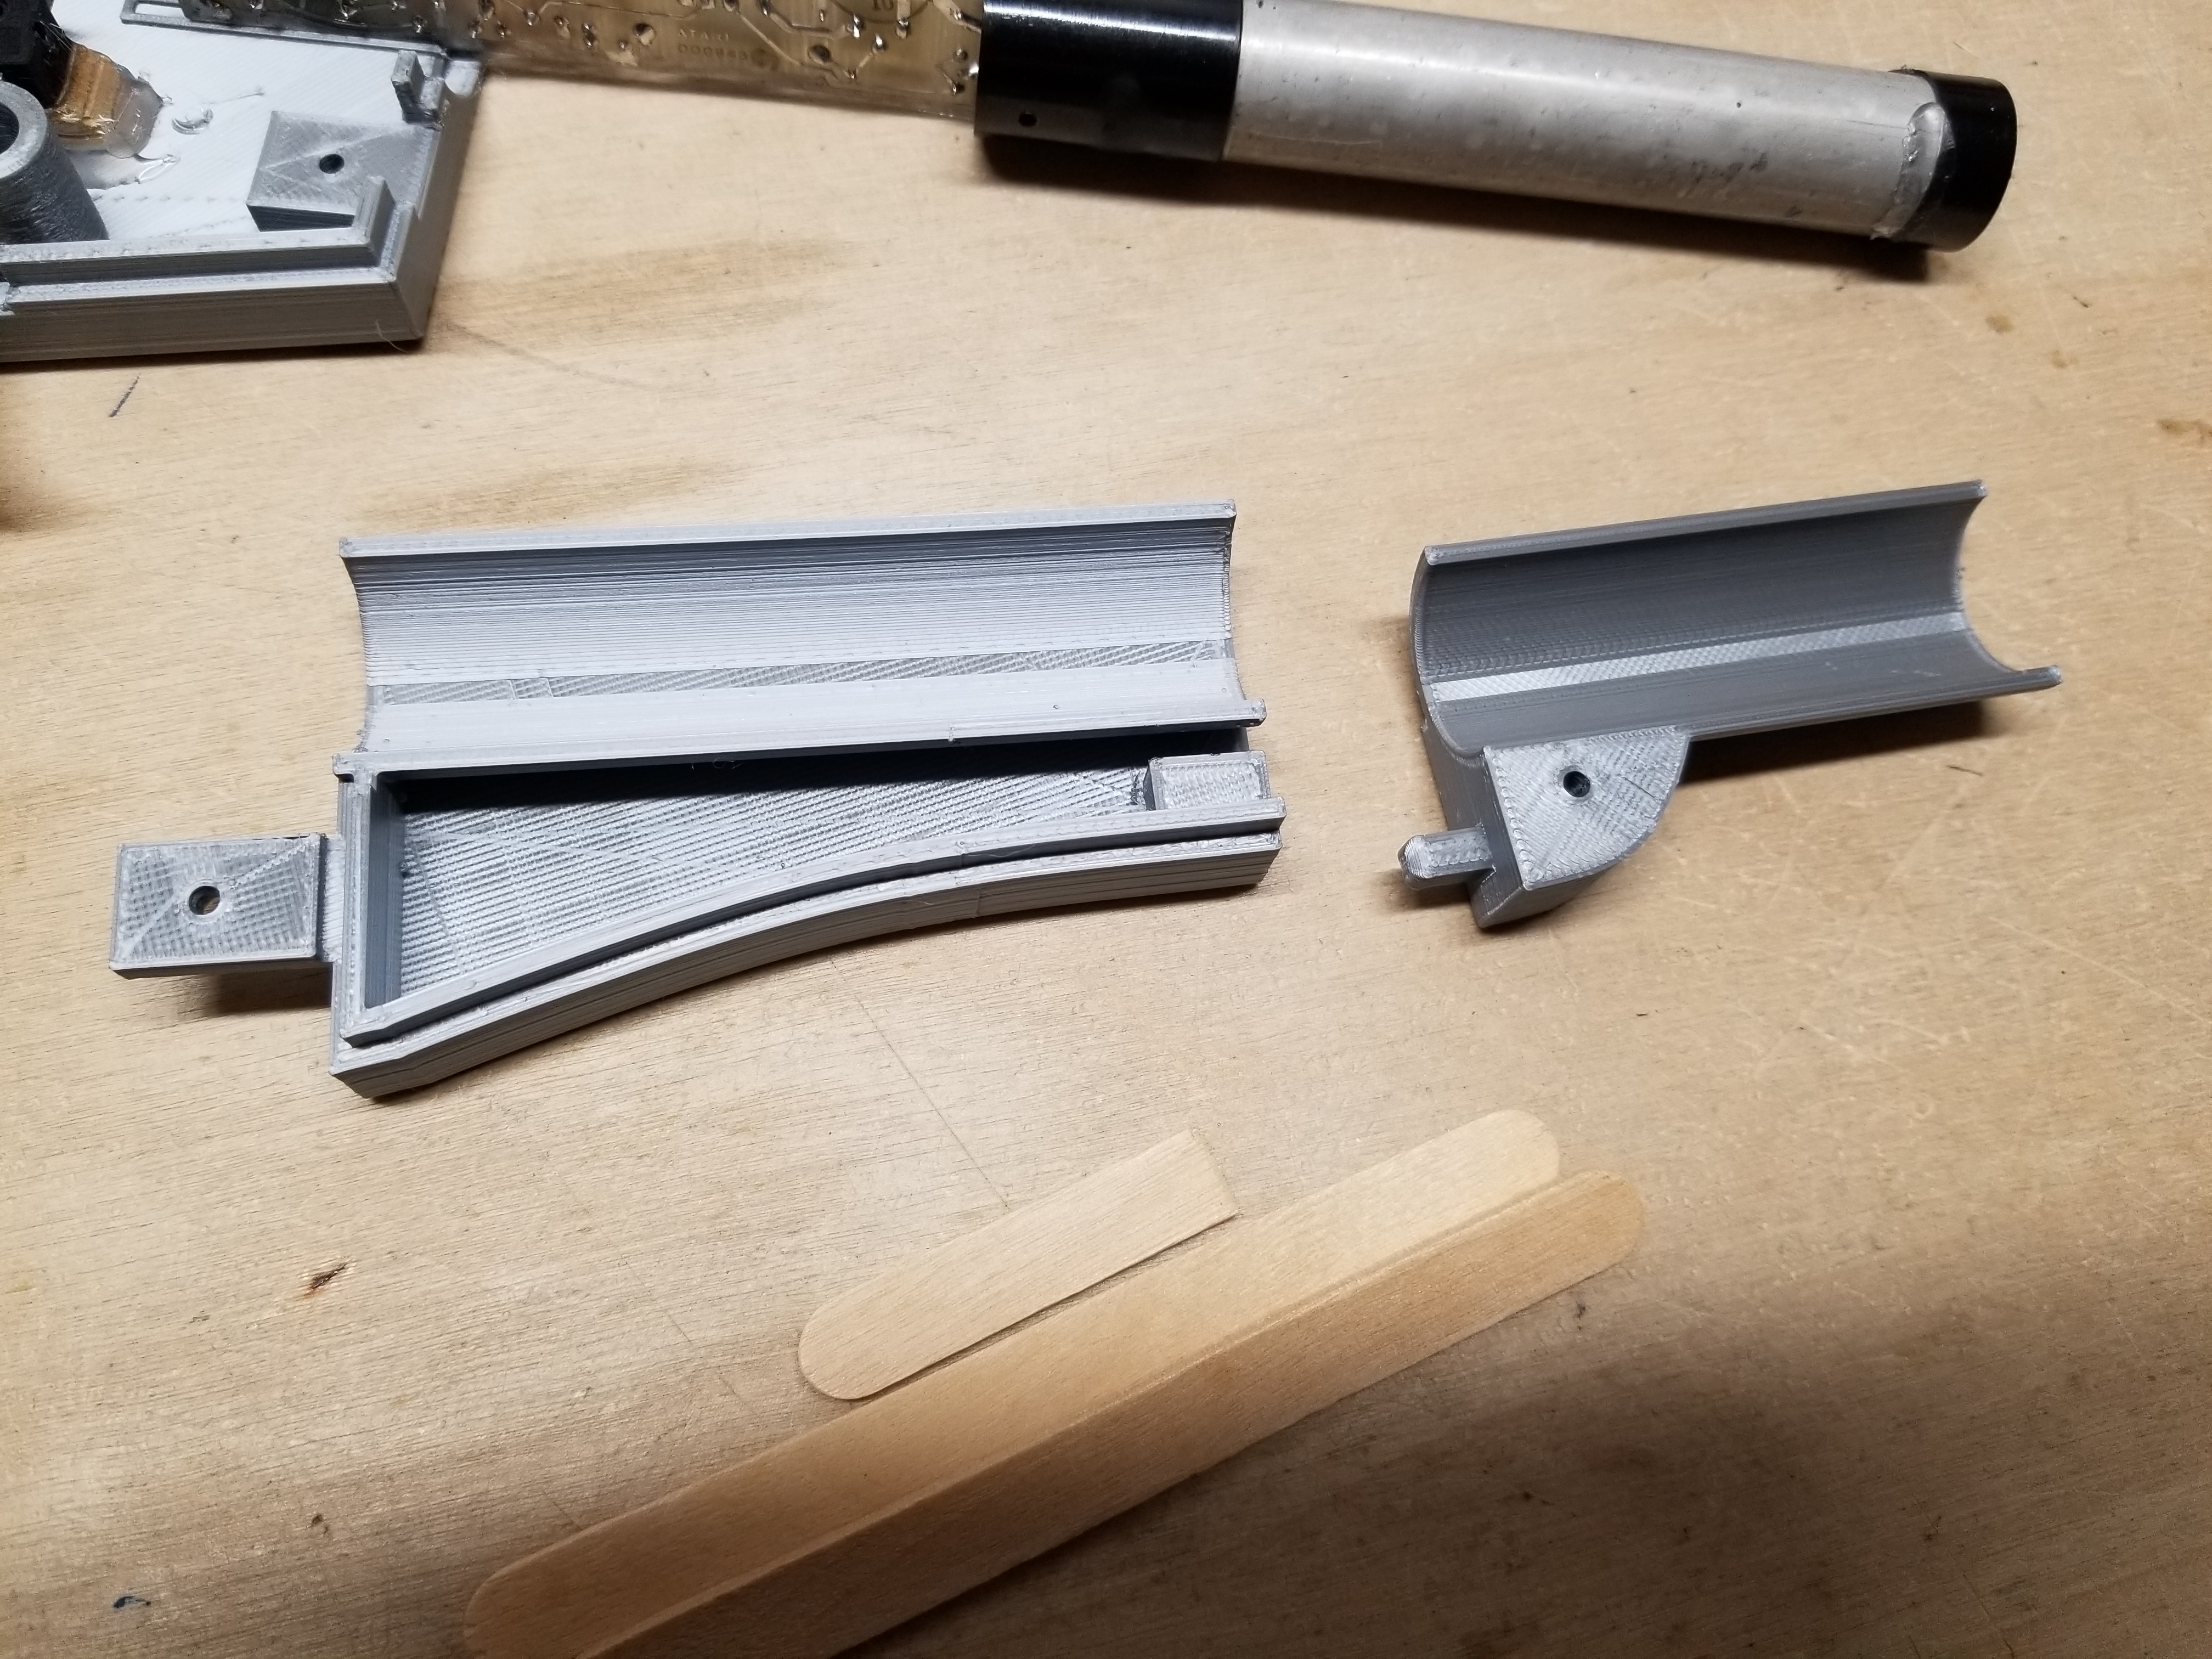
You'll want to snap the barrel pieces together. They should fit snugly.
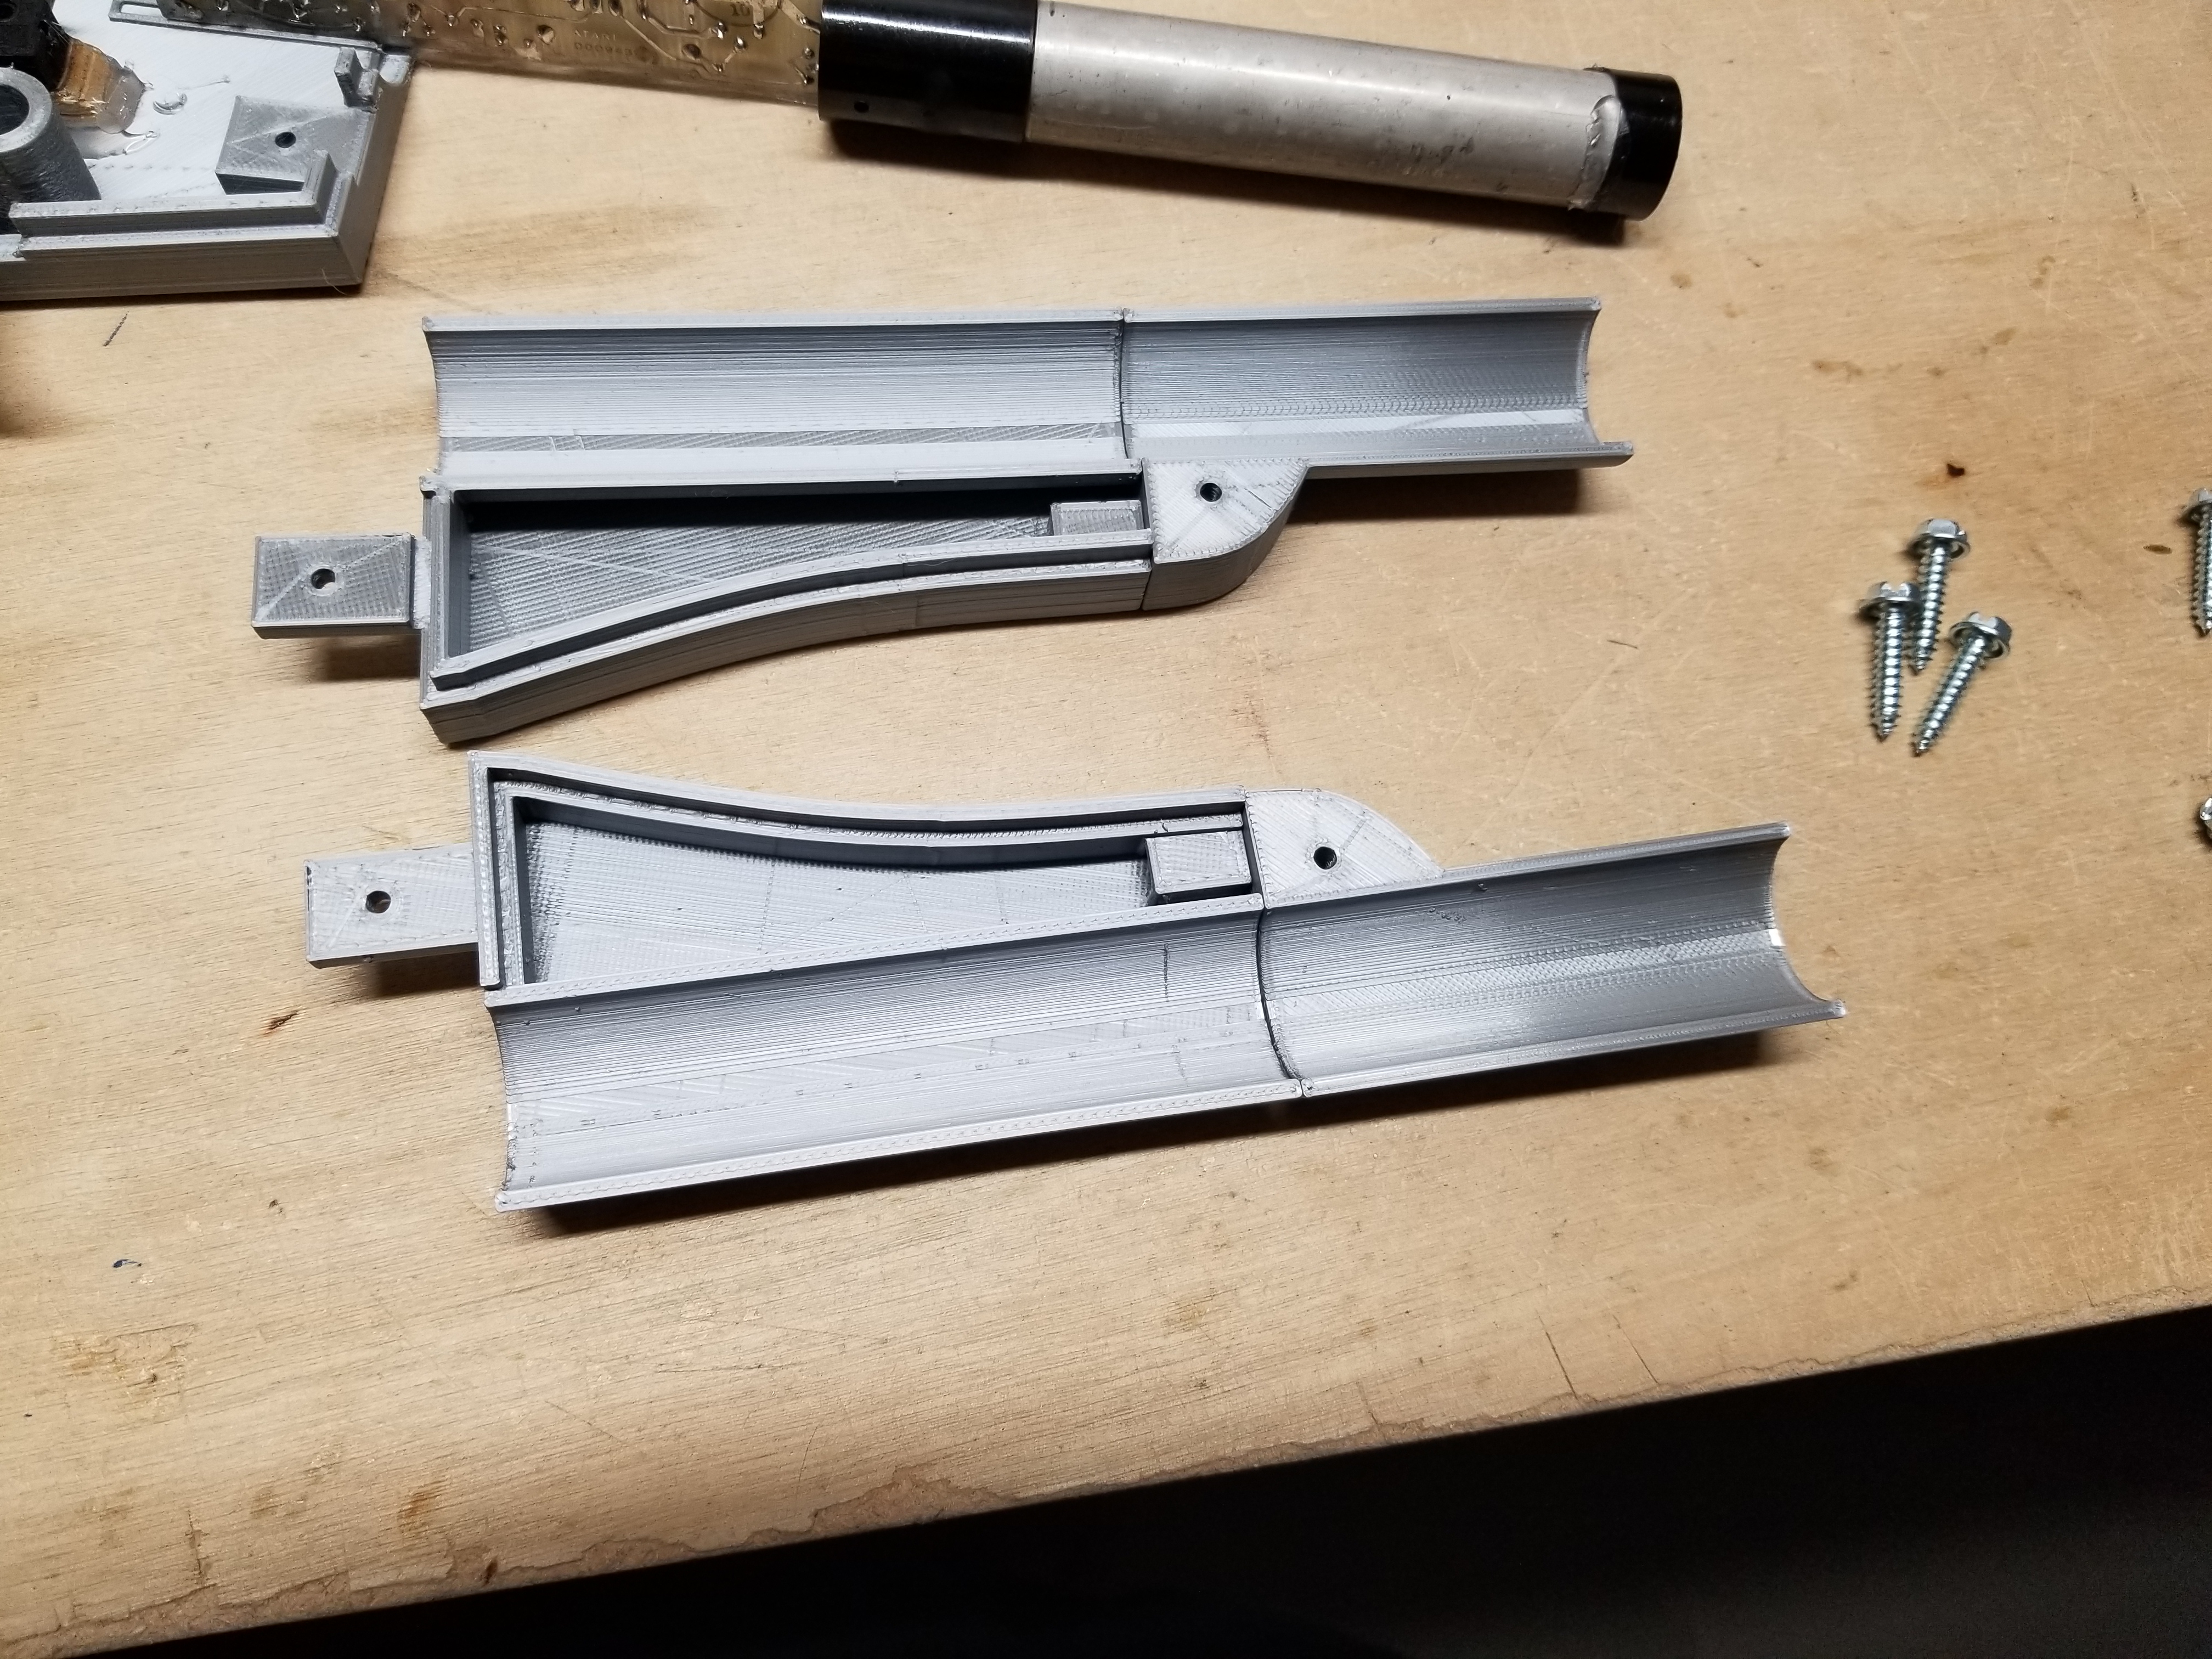
Next, slide the left half of the barrel underneath the optics assembly, with the tab lining up with the spot on the trigger section. The end cap of the optics assembly should extend past the barrel when fully assembled.
Lay the other half of the barrel on top of the optics assembly. There is part of a retaining wall on the barrel midsection pieces that will help guide it into place. It will not hold itself in place until it is screwed in, though.
Snap the other half of the grip in place.
Snap the other half of the trigger section in place. Make sure the light gun optics PCB is completely vertical so that it fits into the channels on the other side of the trigger section. If you do not get the optics assembly lined up right, the trigger section will not sit correctly. If you are unsure if you got it correct, then pull the optics assembly forward an inch and pull off the top half of the barrel. This is why I suggested giving yourself an inch or so of play on the wires for the optics assembly.
From there, it is just a matter of screwing it together. Be sure to provide a lot of downward pressure to make sure that the screw goes into the bottom piece and does not make a gap between all the pieces.
I'd recommend adding hot glue to the wire hole on the grip for added strength.
Lastly, use some hot glue to add the faux cylinder pieces.
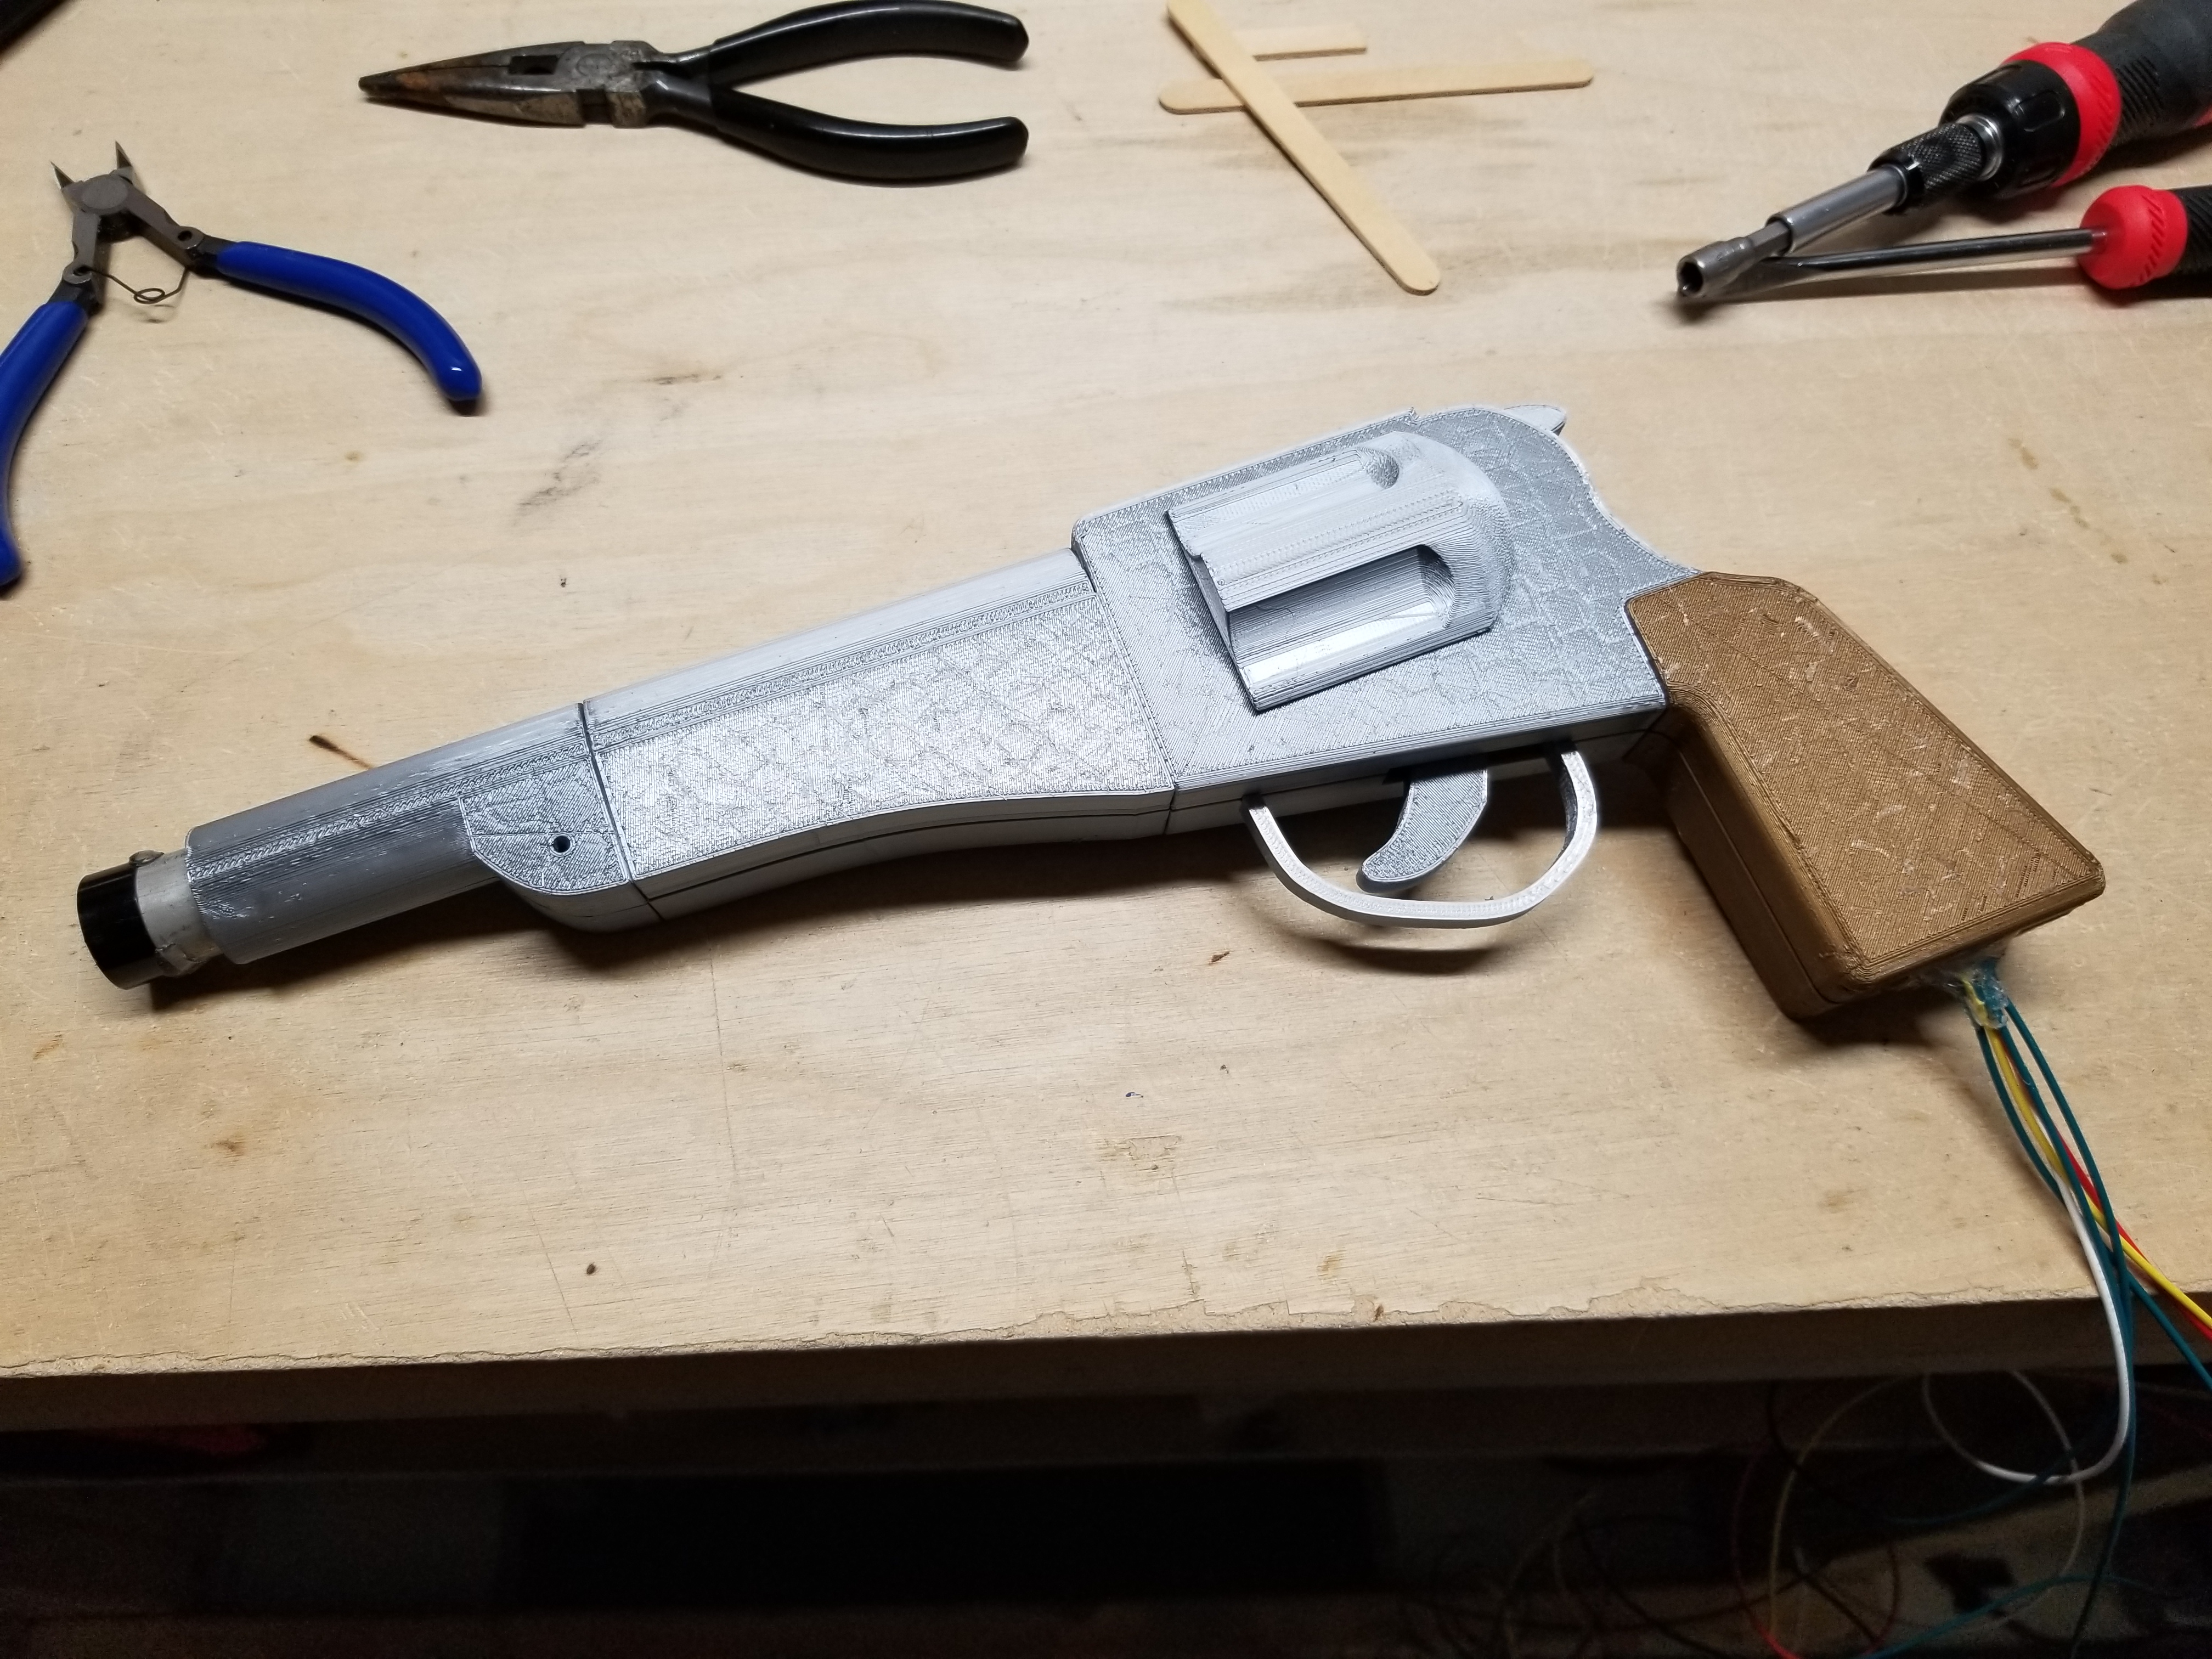
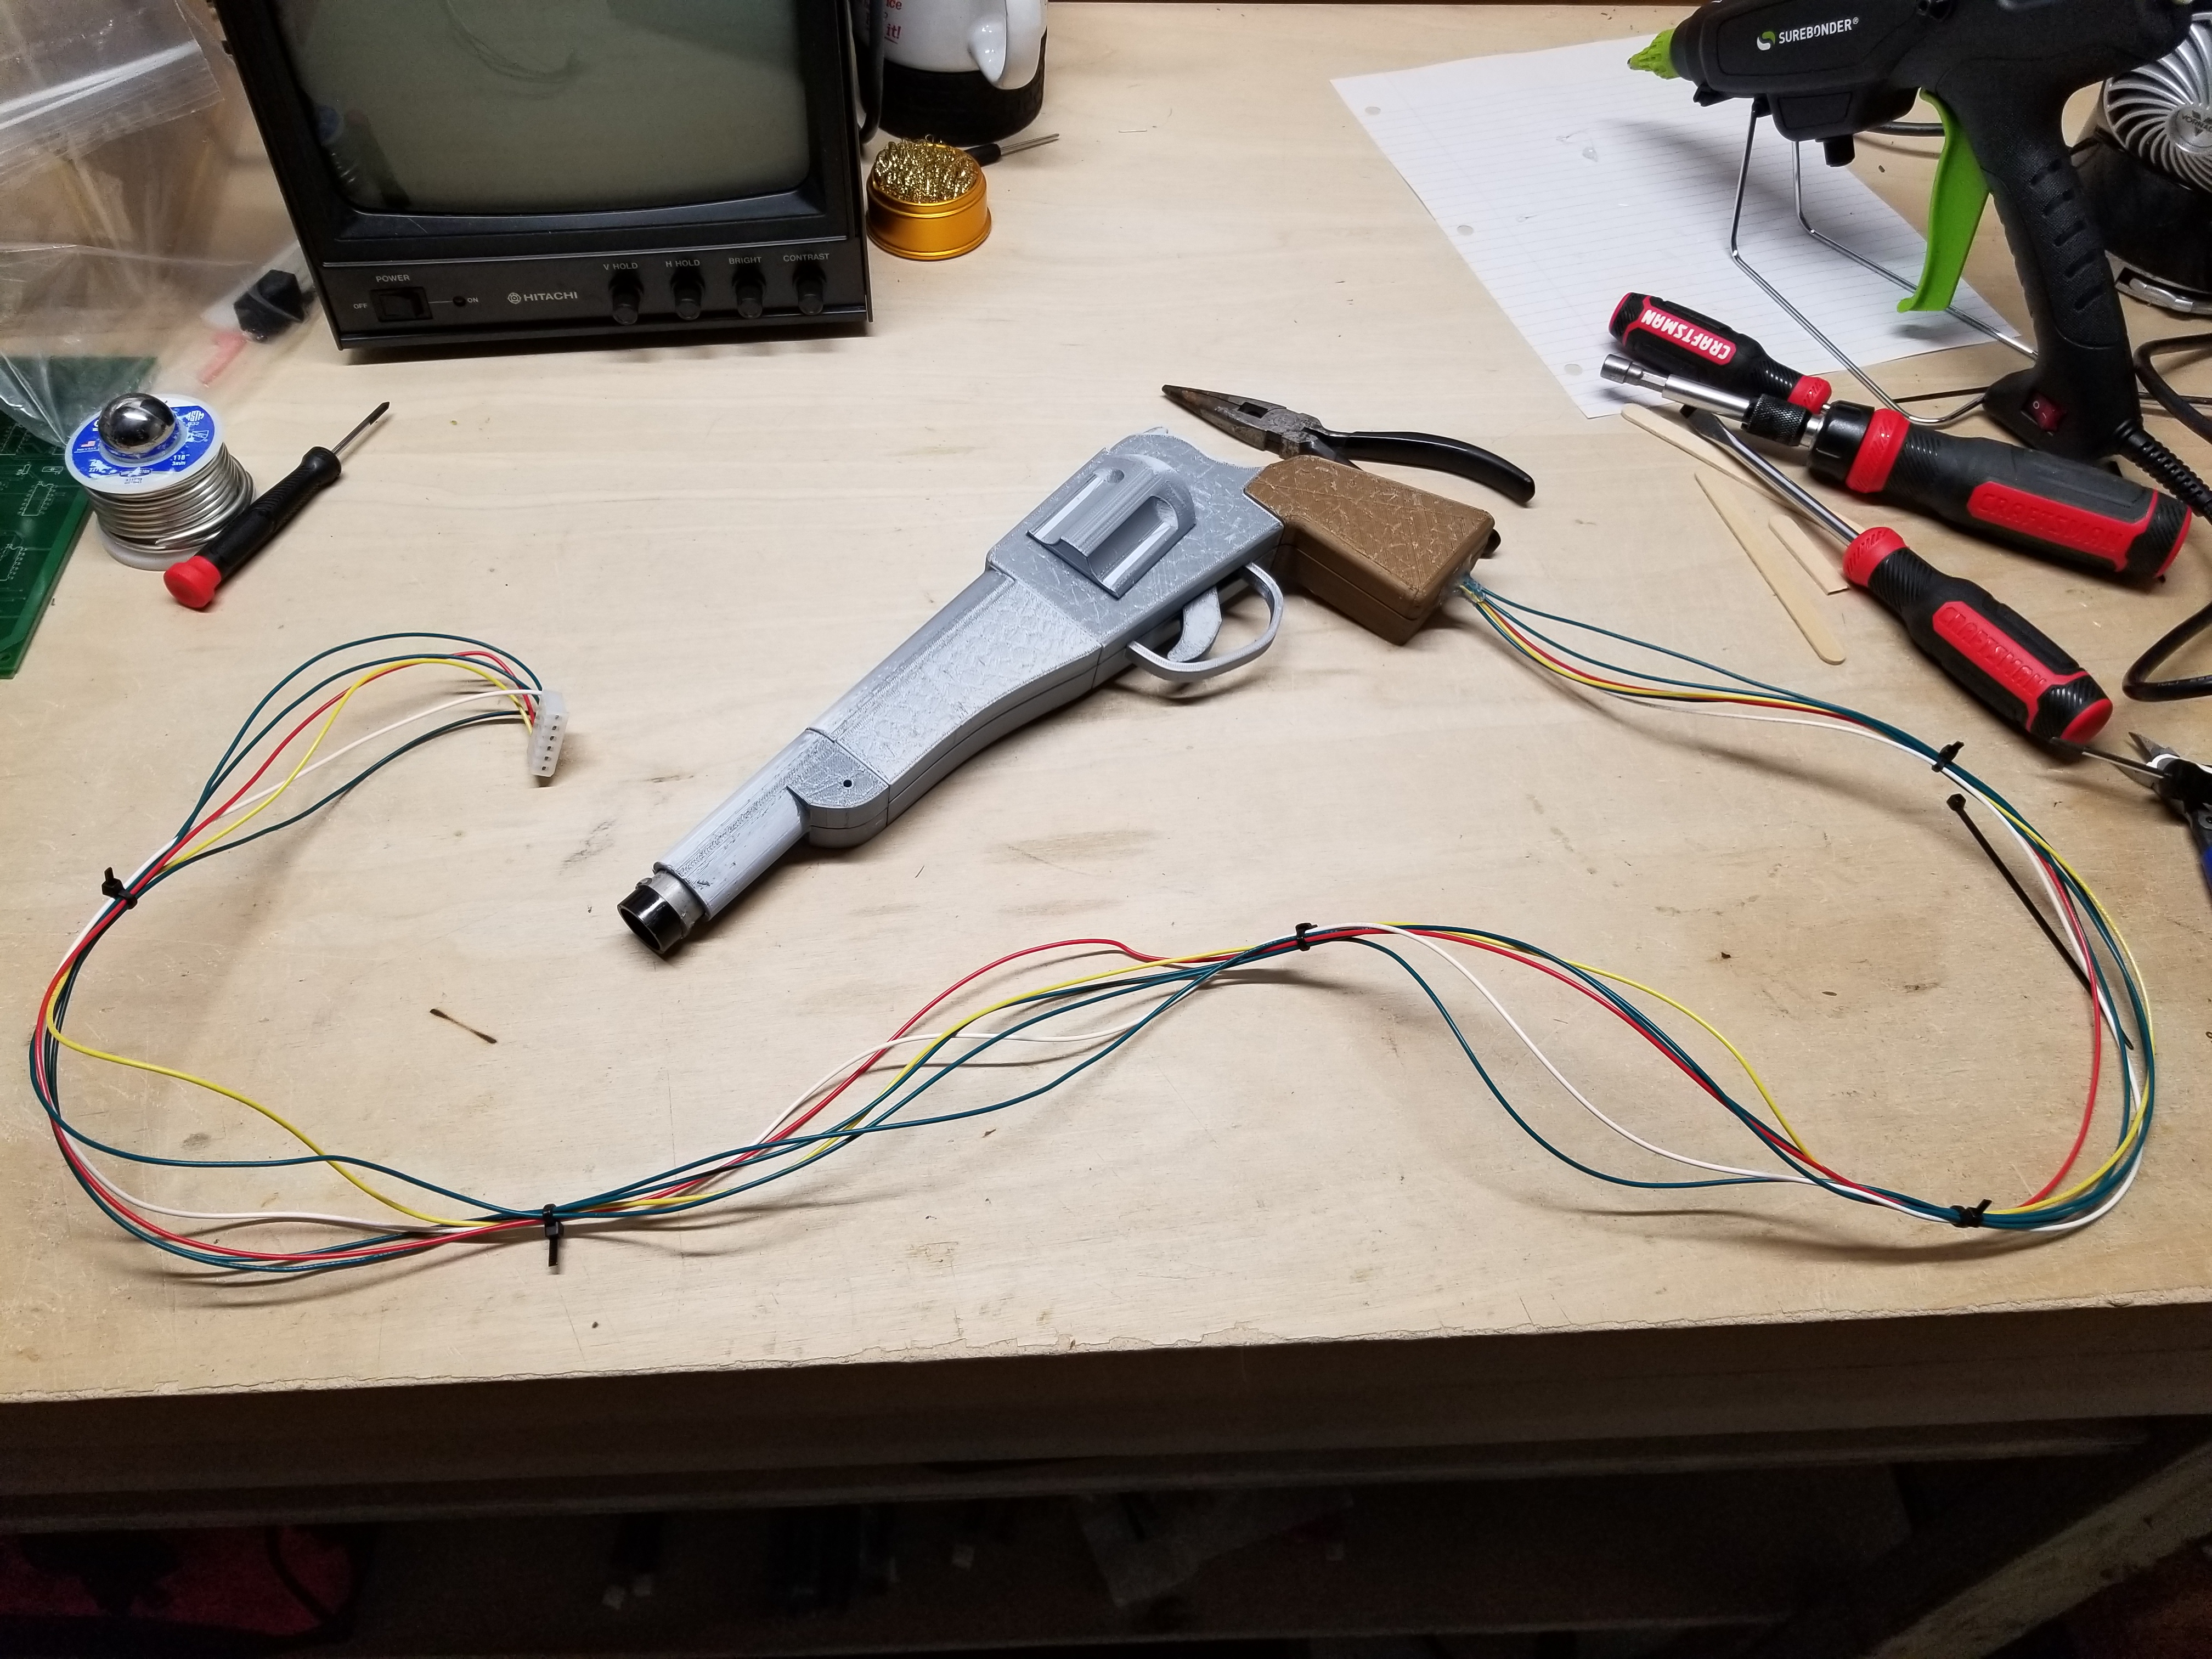
Here is the finished light gun assembly:
So yeah, I hope you found this useful. If you want to see a video of the gun in action, then check out the QWAK! page.
This page was published 11/11/2020
This page was last edited 11/11/2020